

Yes, I saw the Onion piece about “no need for new chairs.” That one hit home. It’s something that crosses my mind from time-to-time…
I’ve been sitting on an idea for a shop stool for about a year. Sometimes the head space and available shop time cause delays to a new idea. That’s not a bad thing. If the idea has any lasting power, it’ll still be around when its time comes.
There’s a need for shop stools. I picked up a few cheap metal ones when I started running classes here in my space. The highest praise I can give the metal stools is that they are “adequate.” I’d like to make a wooden set this winter. And possibly find a design that works in kitchen spaces as well.
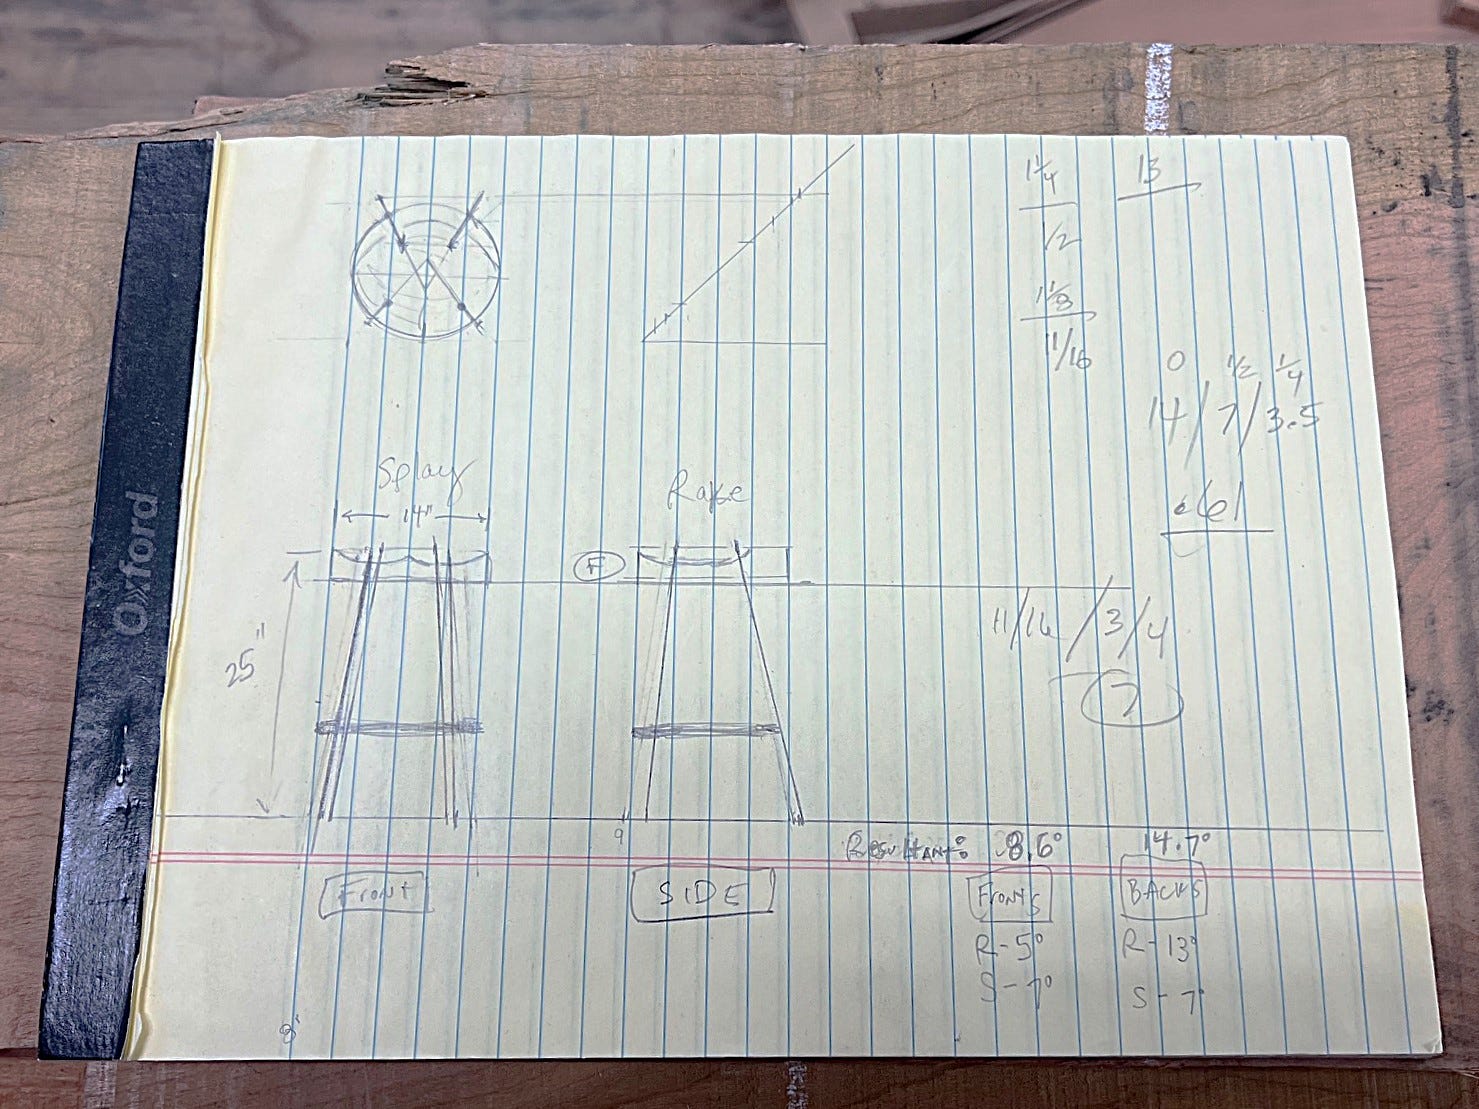
This is my process when approaching an idea. I thought I’d share it here. I’ll return to these notes when I start making the next pair.
Process: A quick sketch, then build a stool. No prototype (unless you count this as the prototype). I want the piece to live on after the build…not a cardboard/ply mock up that ends up in the scrap heap. (It’s a stool, with 6 parts, after all.) I don’t expect this version to be perfect, but it’s my best, first attempt. And I hope I’m happy when it’s together. Not perfectly happy (I know I’ll want to make changes), but excited to get started on the next version. Some ideas end at this stage. They look better in my mind than in real life.
The target here was a comfortable, robust shop stool with a “heavy” seat. If there is inspiration for this idea, it’s the industrial, round, cushioned seat with metal legs stool found in a mechanic’s or autobody shop. Except mine is of wood (pine seat, red oak undercarriage).
The basic components of this design: thick seat, shapely legs, and a hoop.
I put it together this week. I try to brush off the self-congratulations of the post-build as quickly as possible, so that I can critically think of the next version. Essentially, what would I change? It’s painted black to best read the profile.


First, what I like about the stool:
The idea works. I like the shape and form.
It is comfortable.
Easy construction. Easy componets. Repeatable. Shareable (if this becomes a future workshop).
Visibly handmade.
I like the footprint and that the stance reads “chair” (with different rake/splay at the front and back legs).
The hoop works and compliments the round seat.
The feet are only slightly outside the diameter of the seat. I don’t think it wants to trip me.
I’m excited to move on and make version 2.0. (This is the most important bullet point.)
Now, for the critical critique:
The top is thick..likely too thick.
Diameter of the seat. Is it too large?
There’s a reverse (or S) curve to the legs. Is it noticeable or is it too subtle? Do I have to add S-curves to everything?
Adding the hoop is tricky. Figure out the best way to make that lap joint.
It feels like the form should be stretched a little taller. Longer legs, with the stretcher pushed up a little higher.
Slightly more delicate at the floor. Consider reducing the foot.
Notes for Version 2.0:
This is where the 5-10% comes in. Simply put, these are my default adjustment percentages.
It works this way. When something “feels” off, or could be further refined, I’ll consider adjusting it smaller by 5-10%. Anything less is potentially too subtle a change. Anything greater is too drastic. Somewhere between the 5-10% range is noticeable and changes the feel of the piece while also preventing wild adjustments. Essentially guardrails.
Current seat 14” diameter. Make 13”.
Current seat thickness 2 5/8”. Make 2.25”
Current height: 24” tall. Make 26” tall.
Stretcher height (to top edge): 8”. Make 8.75”
Thin “foot” to 5/8” by 5/8”.
Yes, I like the S-Curve. Keep it. Keep it subtle.
Keep the stance, the footprint, and the hoop.
I love this phase of the process. Considering, tweaking, changing, and adjusting.
I plan to start the next pair in December. But first, a few commissions.
The article hit home for me too, even knowing that it was satire. But here I am, planning another day of being out in the shop working on chairs and other projects.