
Lounge Chair 2.1
Details: Drawings, Parts List, & Story Stick

(Readers; thanks for the feedback. The drawings may appear faint. I’ll work on making the lines clearer/bolder and share again (both within this post and in a future writing about the chair.)
This is a shorter post. It contains the drawings and information used in building the Lounge Chair. This is the information I gather when making a new chair. It works for the lounge chair, and it works for other post-and-rung chairs. The details for this chair are below. I’ll explain the process along the way, for those of you interested in adapting this process to your own ideas and designs.
Additionally, I’ll explain different parts of the drawings as they become relevant during the build. I’ll only mention two parts now.
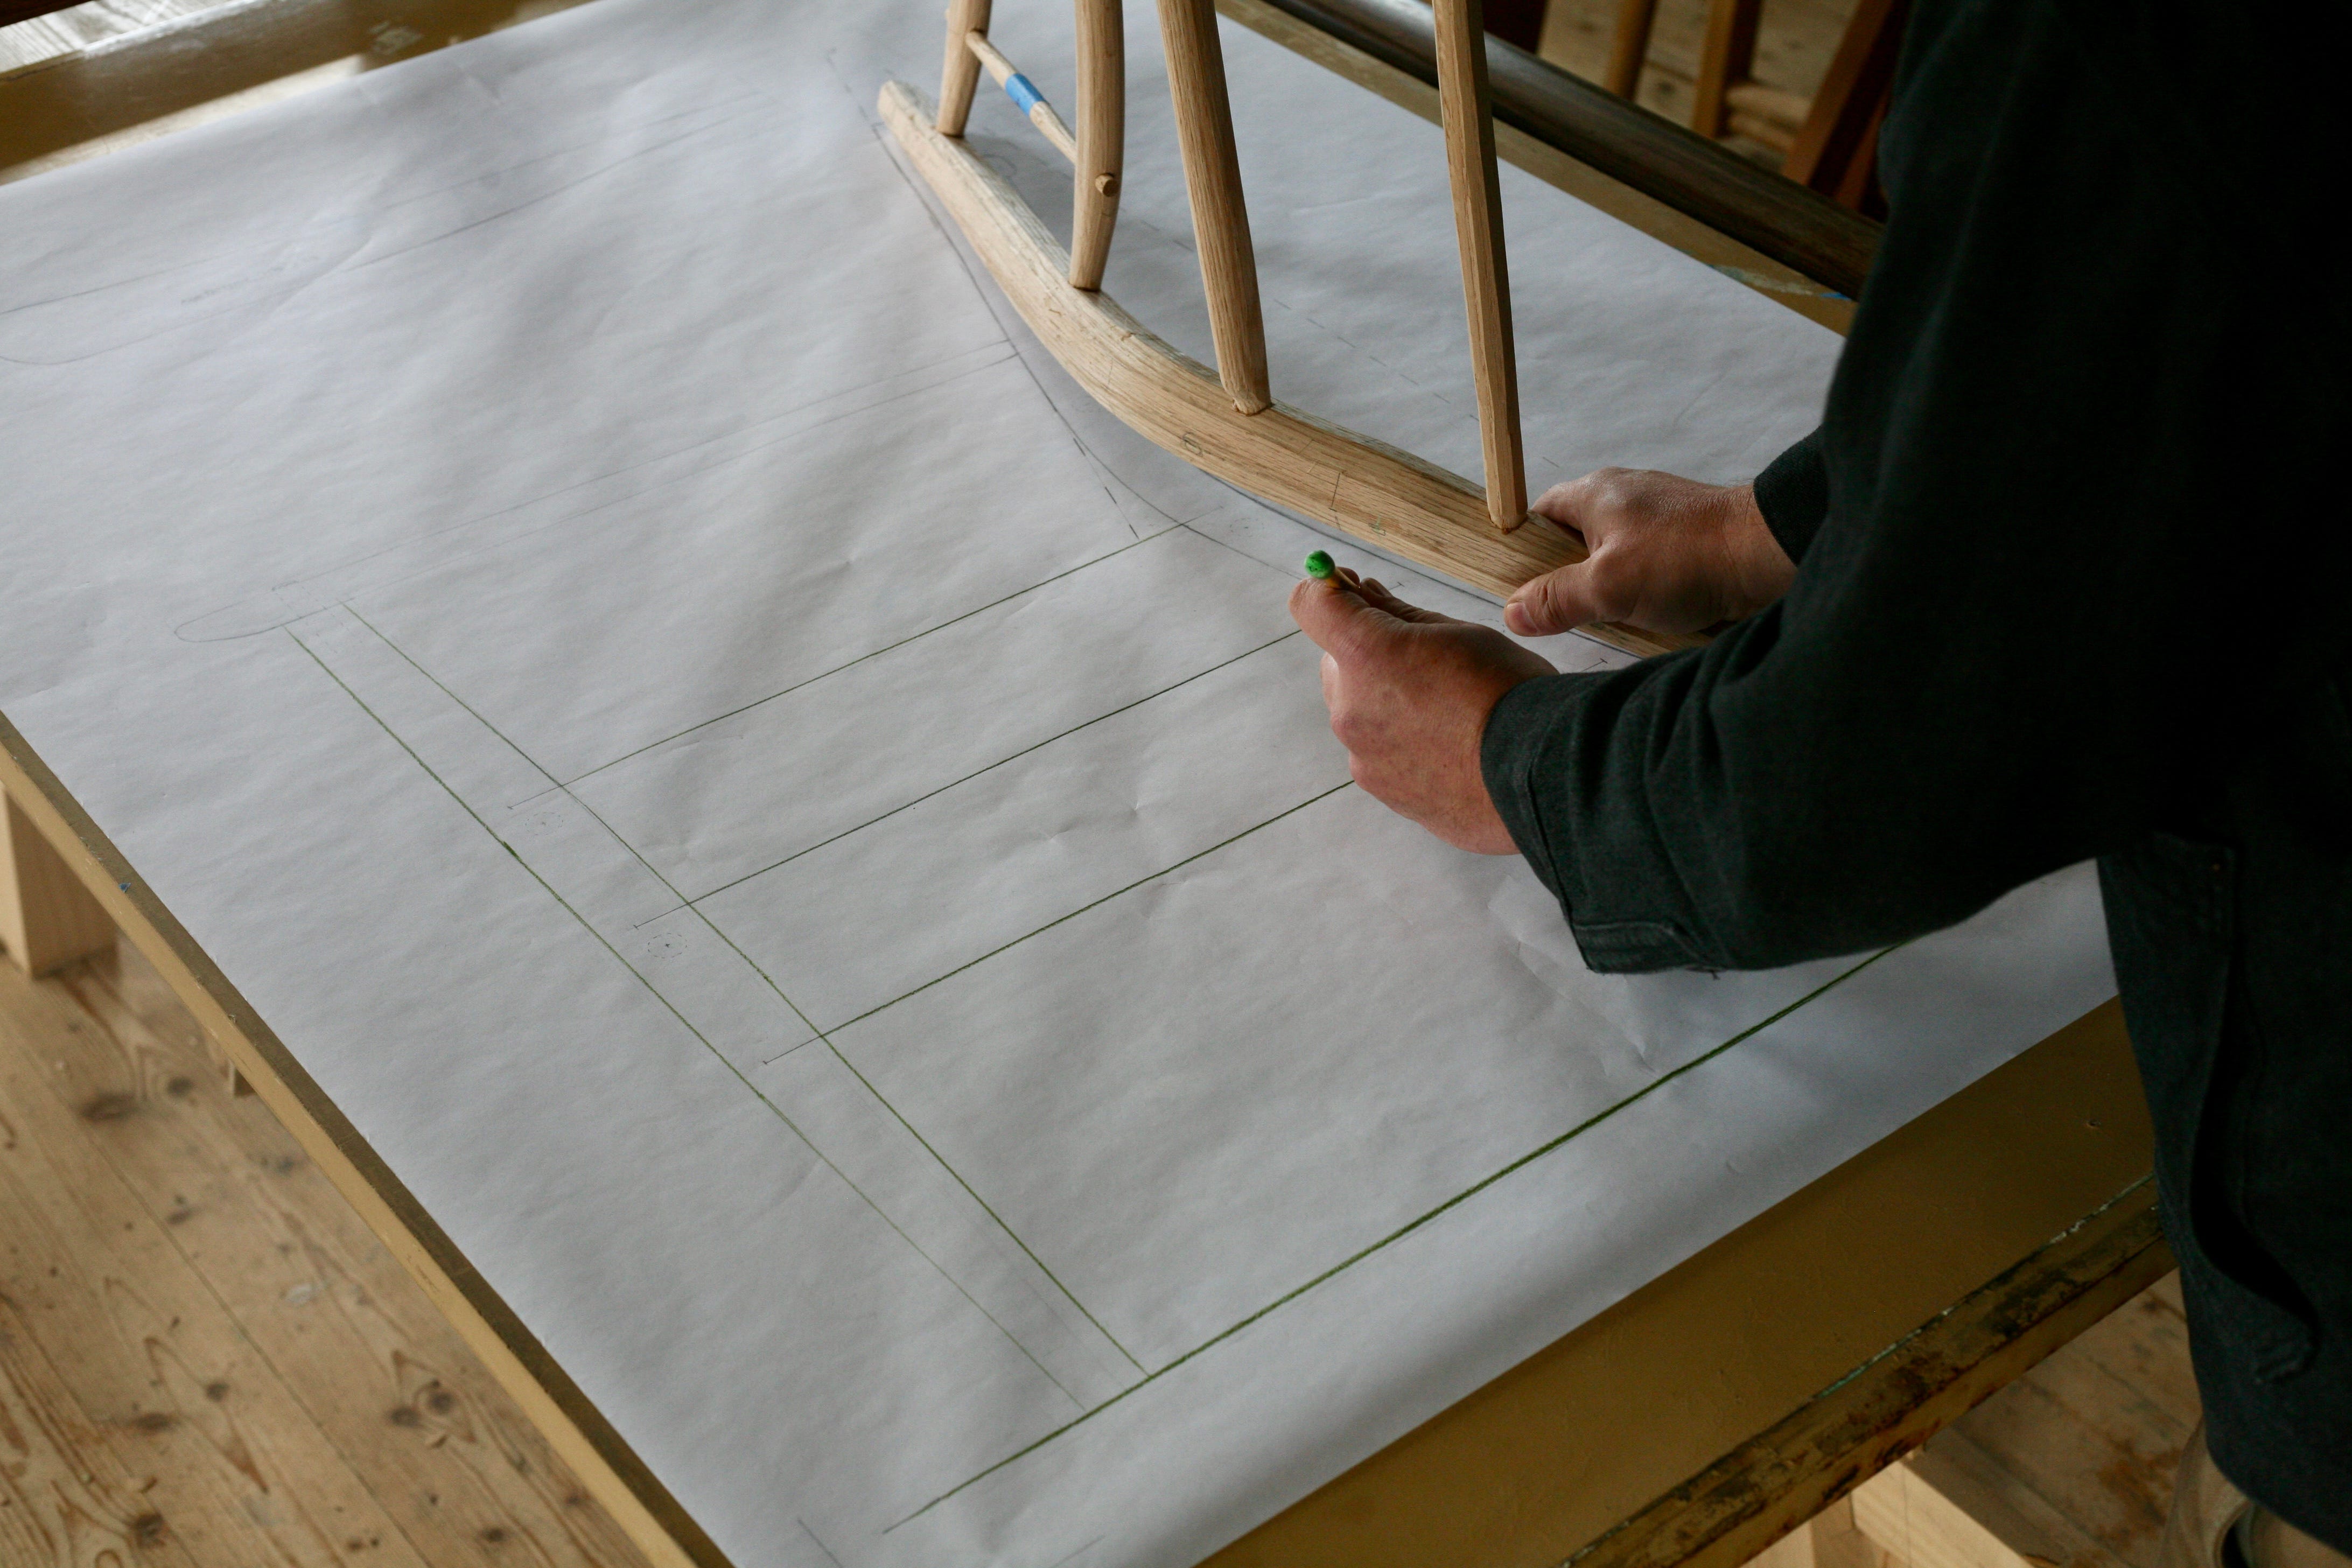
Let’s jump directly into the weeds.
The Side View Drawing (shown above). With this chair, the front post is vertical (no forward rake). The side rungs run 90 degrees to the inside face and parrallel to the floor. With the seat depth determined (in this case 15 5/8” overall, or 13 5/8” between posts with 1” tenons), I can plot the top rung length. The “shoulder” on the back post end of the rung, becomes a pivot point. I draw the middle and lower rungs without knowing their length, simply running the line longer than needed. The lounge chair reclines 18 degrees from the seat (shown in the dashed line flaring up from the seat rung). To find how the back interacts with the front and side rungs, I’ll hold the upper bend to match the 18 degrees, at the “shoulder” point of my seat rung, and then trace/transfer the back assembly to the paper. I’m able to find the middle and lower rung lengths once the undercarriage is plotted.
I often say I’m lofting here, because it’s not a true side view. I’ve drawn the actual rung lengths, not their length in perspective. Even with the minor imprecision, this approach yields the critical information when creating the relationship between the front and back assemblies.
I use this process when working through a new idea. I’ll find a back form that works (with rotated posts and after testing out different rung lengths). With the back frame determined, I’ll put it on the paper.
I’d like for the feet to land somewhere under the top of the chair. Somewhere under the sitter’s shoulders. The backwards rake makes it more difficult to tip backwards, but having the feet under the shoulders also helps.
Everything plays a part in determining the layout here. The bending form shape (a deeper bend allows for more recline while also keeping the feet under the shoulders), the amount of rotation (I find “upright” or shallower bends want to rotate more in order to get the desired flare when viewing the chair from the front), and the recline angle. Playing with one of these variables impacts the others.
Back Bend. This is the pie-shaped information found in Drawing 2. It is, simply, a relationship between the bent posts and the bent rails. The intention is to get the bent rail to enter perpendicularly (or as close to 90 degrees) as possible to the inside face of the back posts. Being *close* is fine…everything works as intended. The goal here is to have the bend compliment the chair frame (and, of course, be comfortable to the sitter).
In the drawing, the distance between the posts (shown as squares) at the lower mortise is 14 1/2” apart. This is the approximate distance between the lower bent rail mortises. The posts are rotated 22 degrees. Carrying a line off the inside faces, we find an intersection point at 19”. From that intersection point, we swing a radius between the two rotated posts. That radius is our target back rail bend. (I’ve made the back bend form at 17 1/2” to account for some springback, and because it’s easier to “relax” a bend once it’s out of the form than it is to make it tighter.)
I follow same process with the lounge chair as when making the two chairs shown in Backwoods Chairmakers (the 3-slat and the rocker). If you have that book, much of this information is shared there. Different chairs, similar process.
Below the paywall are three PDF’s of manual drawings. The three sheets contain:
Bending form drawings.
Parts list, story stick, front assembly, determining the back radius, and the notch block.
Side View. Needed for finding the rung lengths, determining the drill angles, finding the stance, and choosing the recline.
Keep reading with a 7-day free trial
Subscribe to With Working Hands to keep reading this post and get 7 days of free access to the full post archives.