
Lounge Chair 7.0
Back Assembly

I took a short, unexpected break.
It feels good getting back into Substack.
In the last post on the lounge chair, I laid out and drilled the back rungs. In this one, we’ll drill the upper back rails and assemble the back.
Plenty of pictures in this one. It’s a little easier to share via photos than to explain in writing. Also, this post is open to everyone.
The basic process:
Layout the upper mortise locations.
With the false rungs in place, place the bent rails in the correct location.
Use the rails as a guide to drill a 3/4” deep mortise. (video)
Measure between the mortises at the shortest distance.
Cut rails to size, add tenons, and shape.
Clamp in place again, this time drilling the vertical stile mortises.
Shave the stiles to fit.
(Dry fit check). Place the rails and stiles together. Ensure the bent rails point towards their mortises. Take more material from stiles if adjustment is needed.
Glue together. Once together, make adjustments to remove any the twist. (video)
Use the story stick to layout the upper rail locations. I pull all my measurements from the floor (or the post bottom). We’re marking above the bend for this part. My method is to find the seat rung mark, place it over the mortise, and pivot the story stick to get the lower bent rung location along with the upper mark.
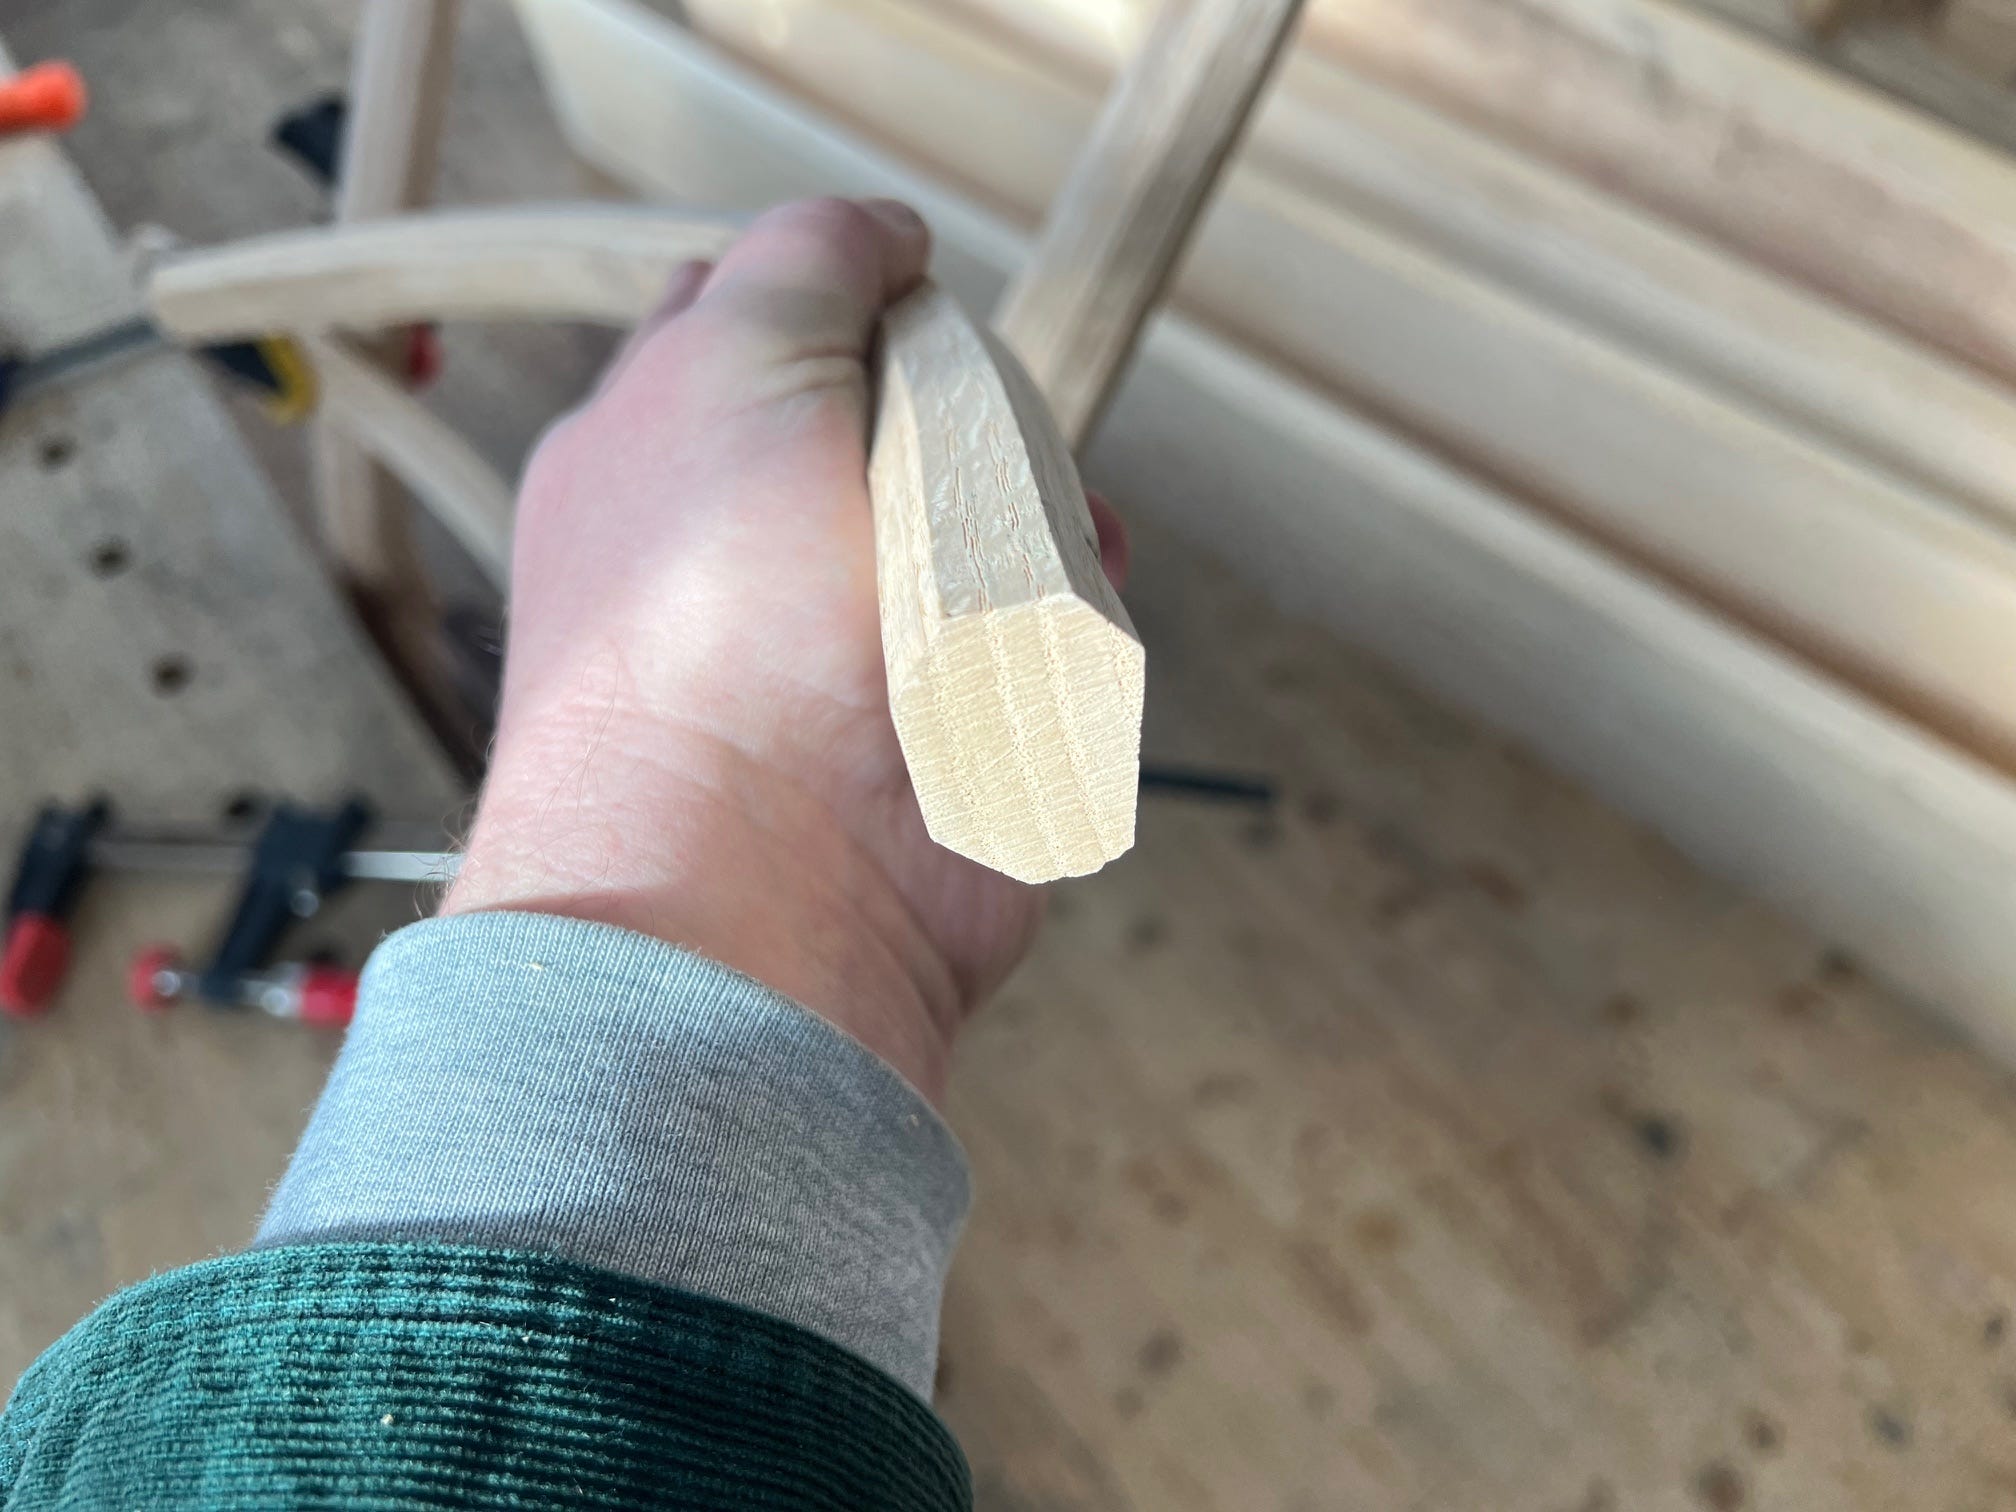
The next step is preparing the upper rails. I’ll often shave an angle into the upper rail, so that it flairs upwards slightly. It’s a subtle thing, but it helps the upper rail look parallel (or even swell) in relation to the ground. Also, mark the center of both rungs. All this entails is cutting more away from the back, bottom face, so that the center of the rail kicks a little higher.
Clamp the rails in place, directly in front of the mortise locations. These are the drilling guides.
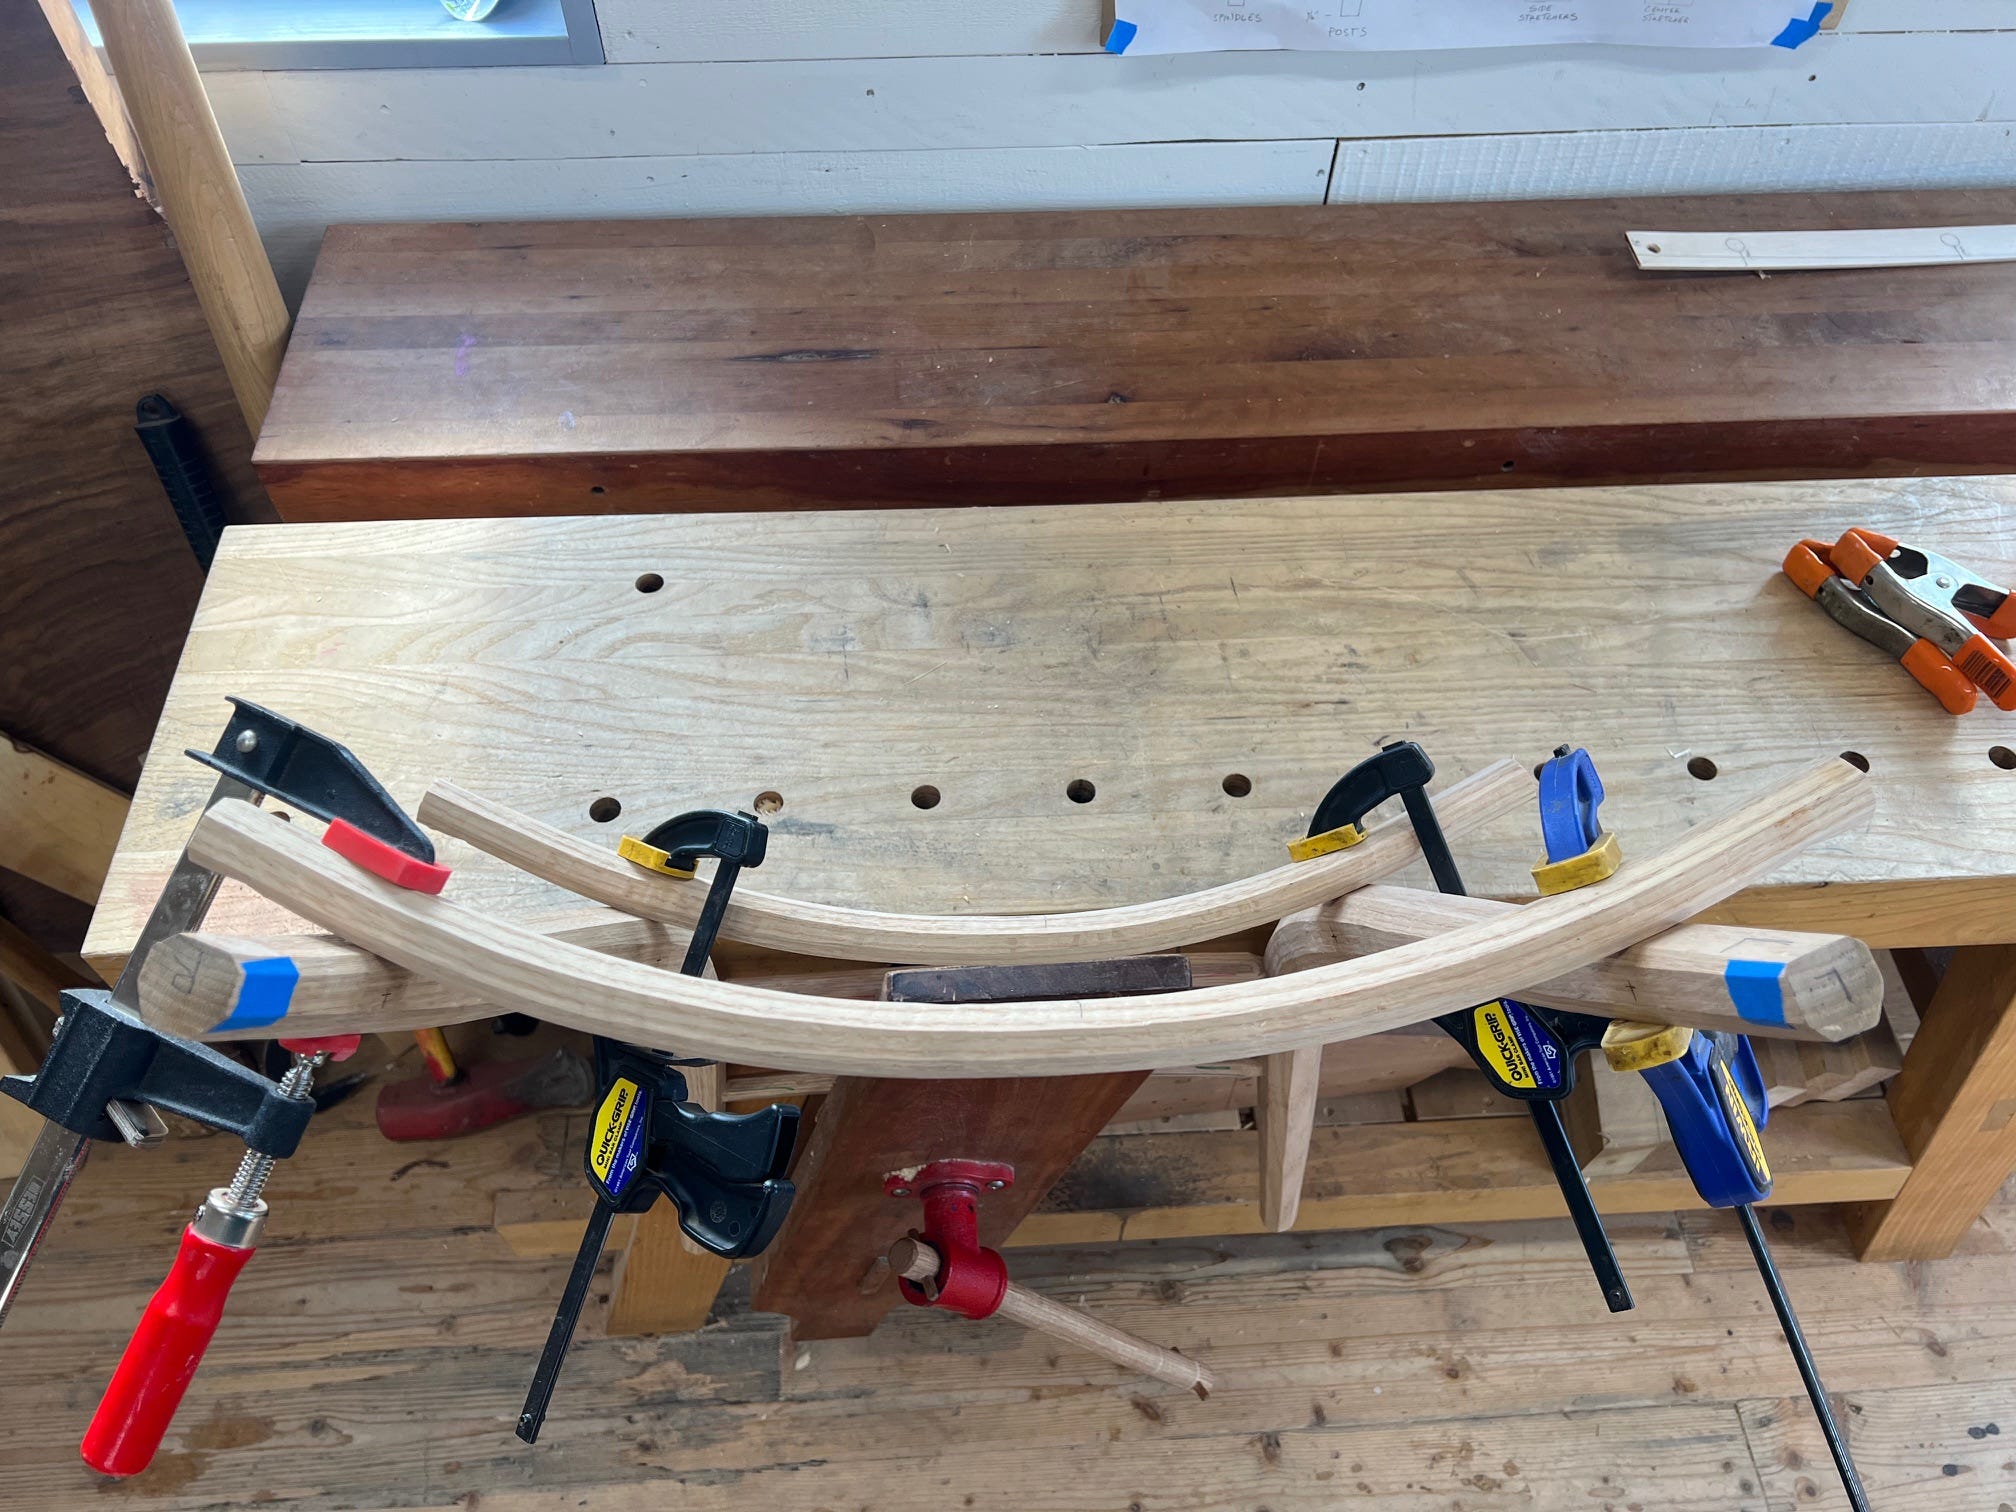
Drill the 3/4” deep mortises.
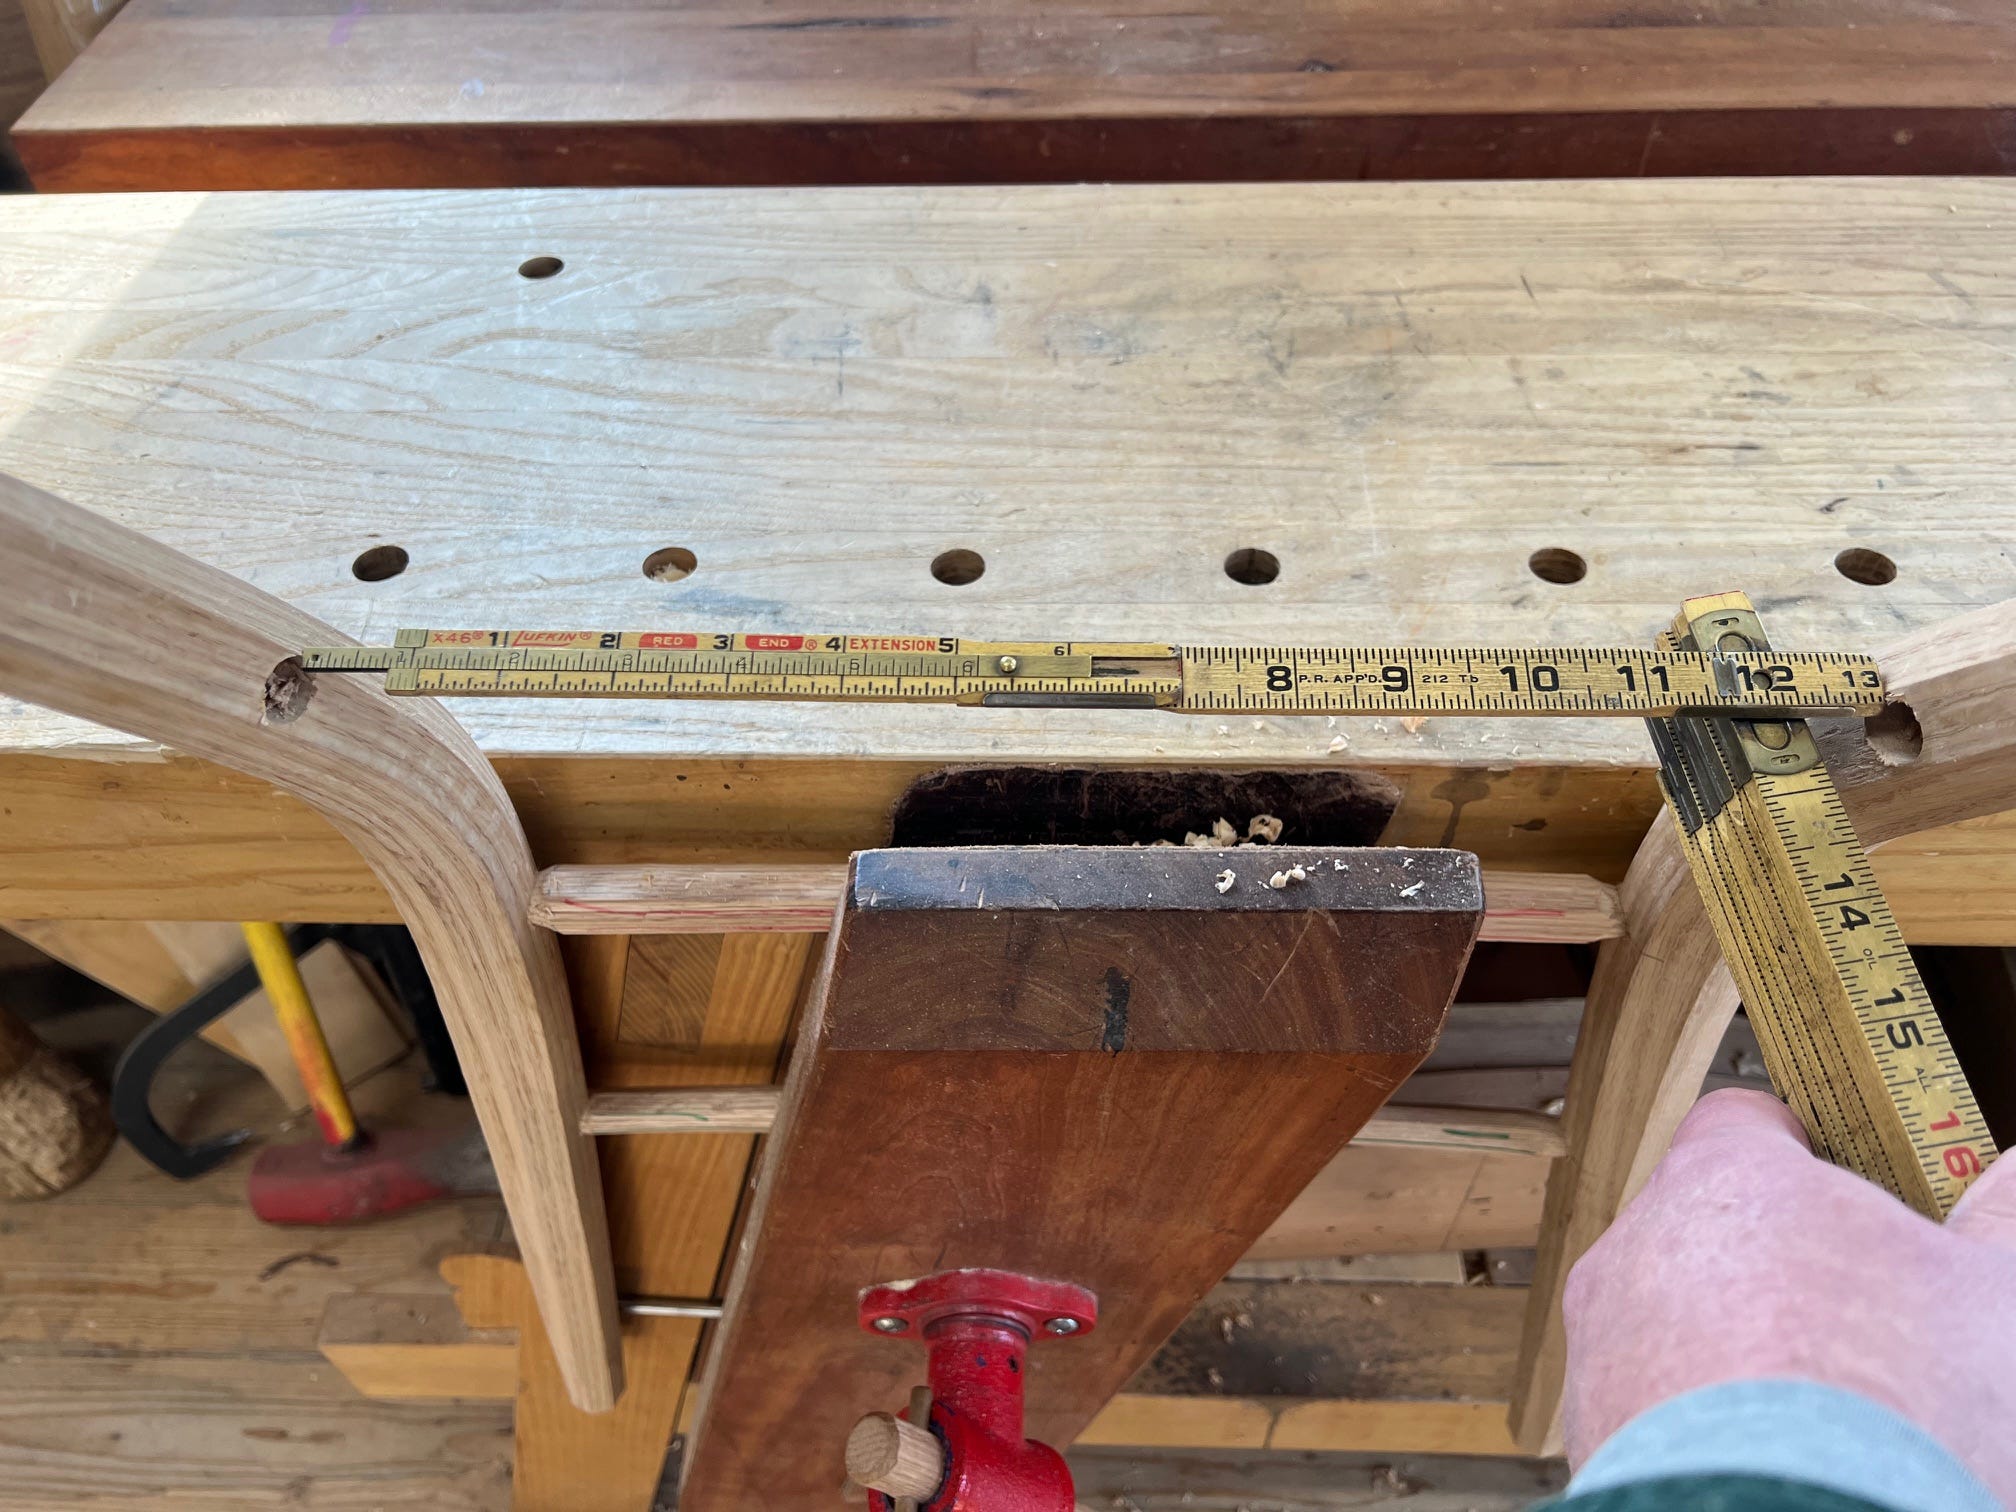
Remove the rails. Grab the folding ruler with an extension arm. Determine the direct length at the shortest point (the bottom, front edge of the mortises). Record these lengths. In my case, the lower rung was 13 3/4” and the upper was 16 3/4”.
Add 1 1/2” to each figure (to account for the tenon lengths [3/4” on either end]).
Lower rail: 15 1/4”
Upper rail: 18 1/4”
Layout the rail lengths. We need the midpoint as well. For the upper rail (at 18 1/4”), we note the center point is at 9 1/8”
Set up a ruler along the bench and a vertical line. Place the bent rail with the center marking at 9 1/8”. The bent rail should cross the ruler at the 0 point and at 18 1/4”. With the three points in the proper location, mark the start and end of the rail.
Mark the lower rail as well. Cut them both to length.

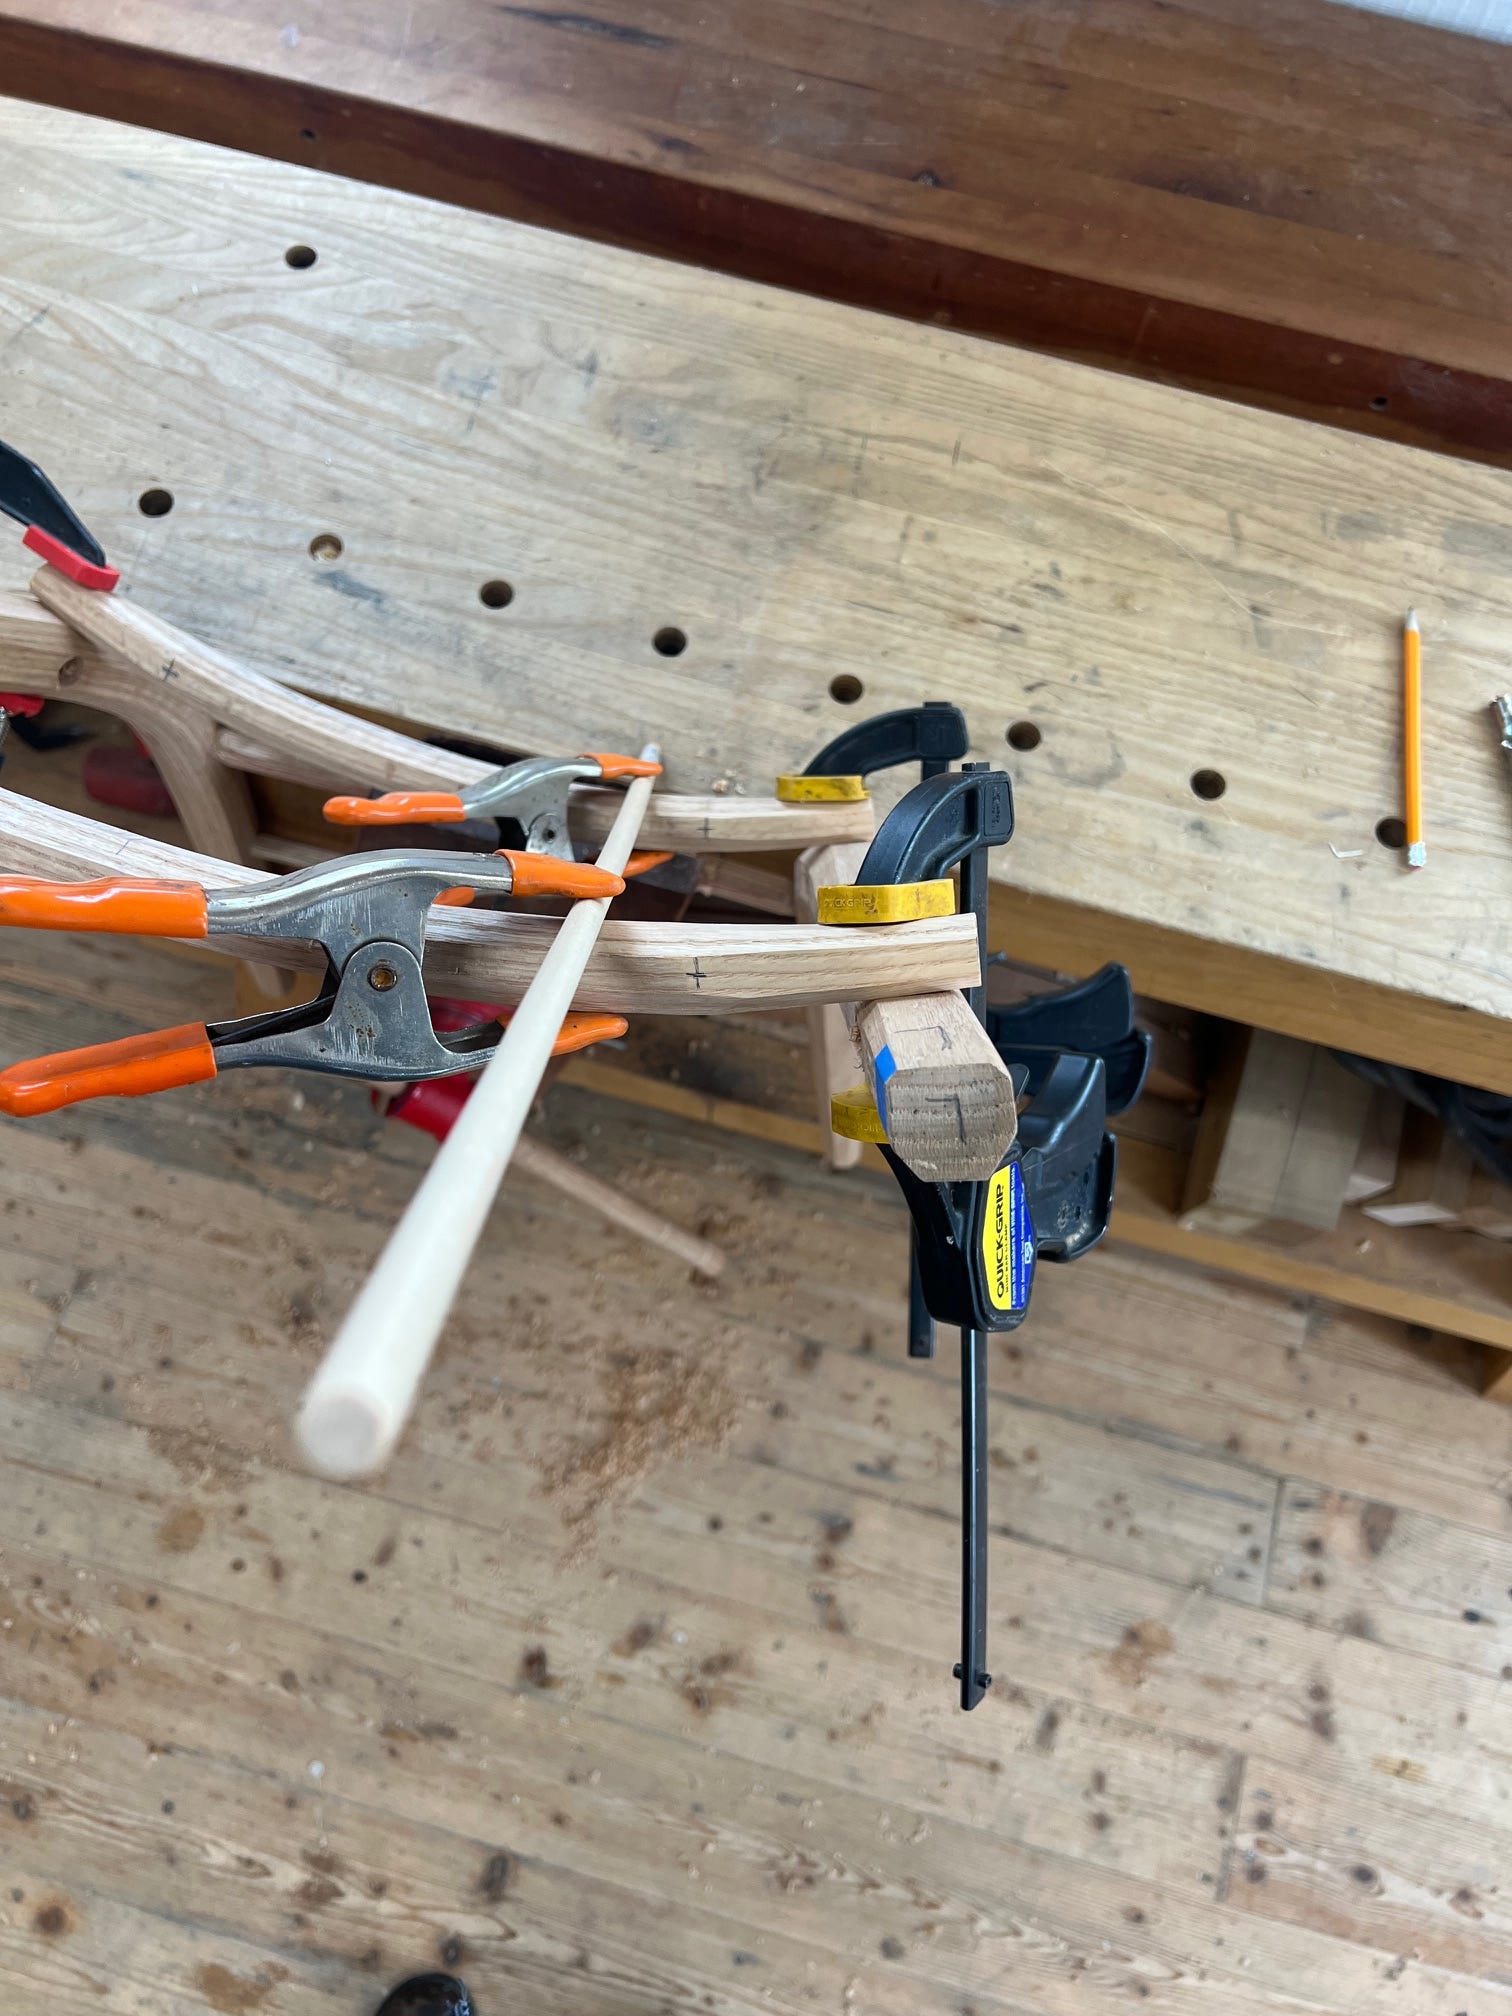
Place them back into the correct spot. Mark 3” in from each end. This is the vertical stile location. In the picture, I’ve clamped a dowel, slightly offset, to help with drilling alignment. Drill four mortises.
(Sidebar: There’s commonly a feeling that the bent rungs are not the correct length. They appear much too long when placed against the front. That feeling changes to worry when checked against the back of the posts…they look too short.
Recheck the numbers if something *feels off. But it’s been my experience that a bent rail feels too long or too short based on whether I’m checking it against the front or the back.
There is no dry fit…this goes together during glue up. )
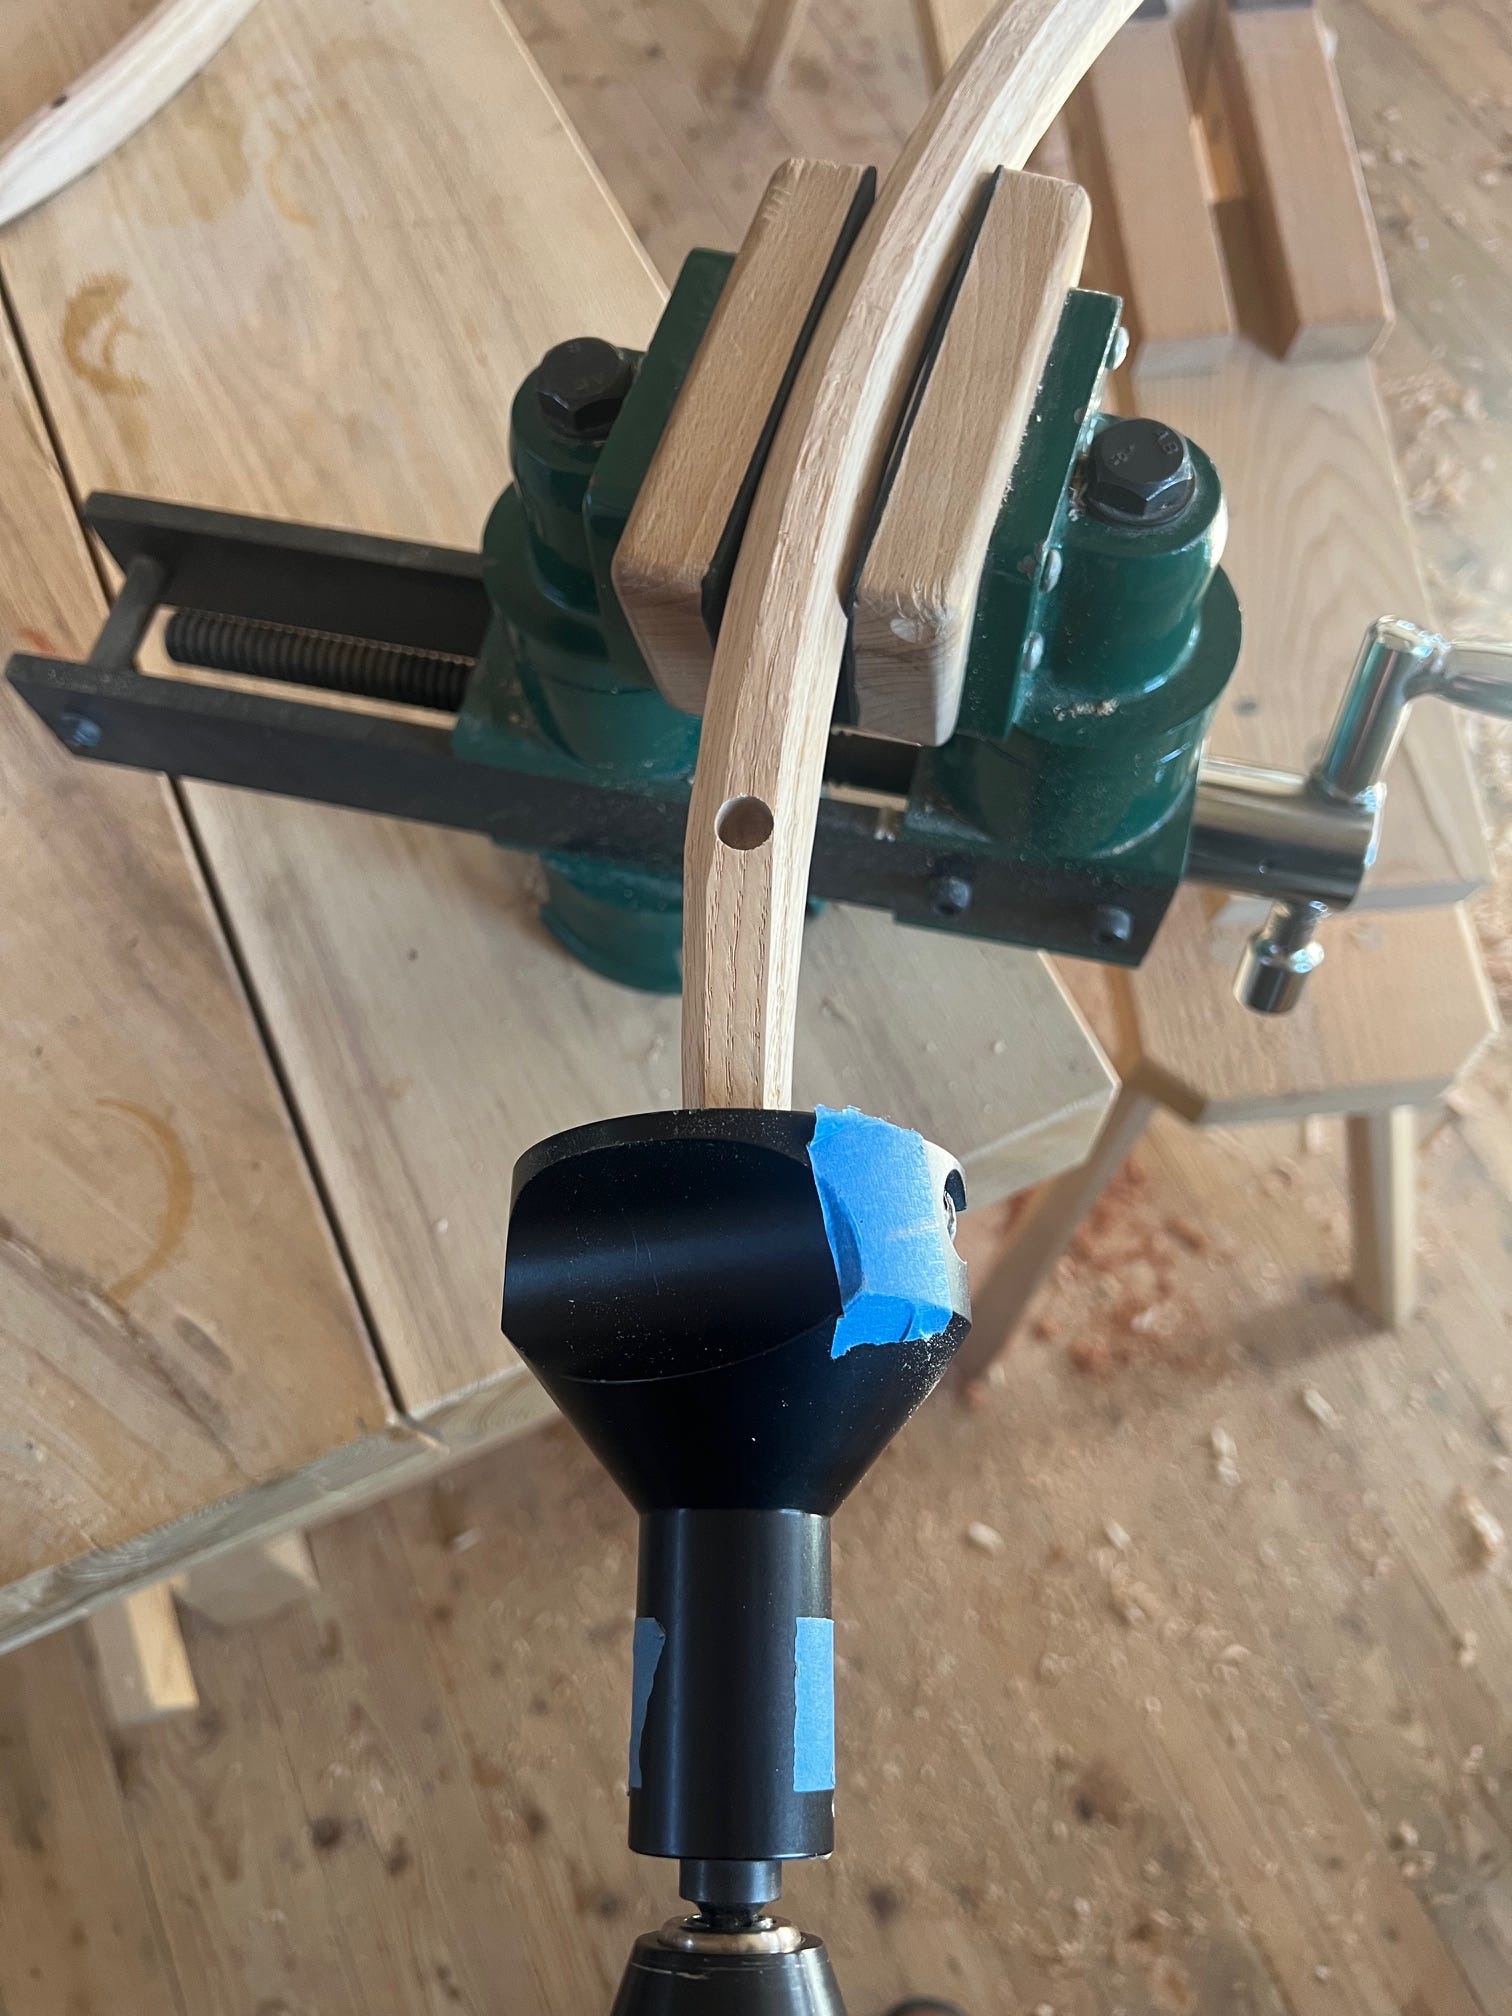
Cut the 5/8” diameter tenon. I’m using the Veritas tenon cutter with a stop in place to make the 3/4” long tenons. Use the rail as the sighting guide…imagine the rail continuing into the tenon cutter.
I didn’t get a picture of this next step. It is shaving the stiles to fit. I want the tenon to slip into the mortise at least 2 1/2” from each end of the 14” long stile. I don’t want a sloppy fit, but I also don’t want a snug fit either. The last thing I want is for the stiles to fight during the glue up. I will wedge them after the successful assembly.
Once they fit, I slide the stiles into place and check that the bent rails point towards their mortises. Sometimes I need to shave the stiles further so that the rails reach the mortises without a struggle.
Then it’s time for glue up. Gather supplies and a few clamps. Since we’re driving tenons at different angles, it’s much easier to do so with the help of clamps.
This glue up usually takes around 10-12 minutes. The extended length of this assembly is why I prefer a glue with a long set time. I’ve shortened the video to 5 minutes…out of mercy for the viewers.
The glue up process:
Glue the stiles and get them in place. Check the mortise location against the post…properly space them, then set the assembly aside.
Glue and drive in the lower rungs into one post.
Glue and start one side of the bent rails.
Glue all of the opposite side mortises and tenons.
With a hammer, drive the lower rungs about half way home. Try to get the bent rails lined up (they may not align just yet). It’s important that the lower rungs are nearly half way seated. If they are only started, adding clamp pressure may twist the post.
Add a clamp to the lower rungs. If the clamp is tightened at the lowest rung, it will flair the top open (which may be helpful when starting the bent rails). When tightening at the seat rung, it also pulls the top together.
By adjusting clamp pressure on the lower rungs, get the bent rails into their mortises. Then add a clamp to the upper portion to bring everything together.
Add pressure to the lower and upper sections at the same time. Try to bring it all together evenly.
With the upper…often the bent rail will bend/flex during assembly. The technique is to hold the rail and the clamp while tightening. You’ll feel the bent rail flex. Give the clamp a turn or two, then use the mallet to push the tenons into their mortises. I do this, back and forth, between the bent rails, until they flex but no longer drive any further into the mortise. That’s the stopping point.
Fully seat the lower rungs as well.
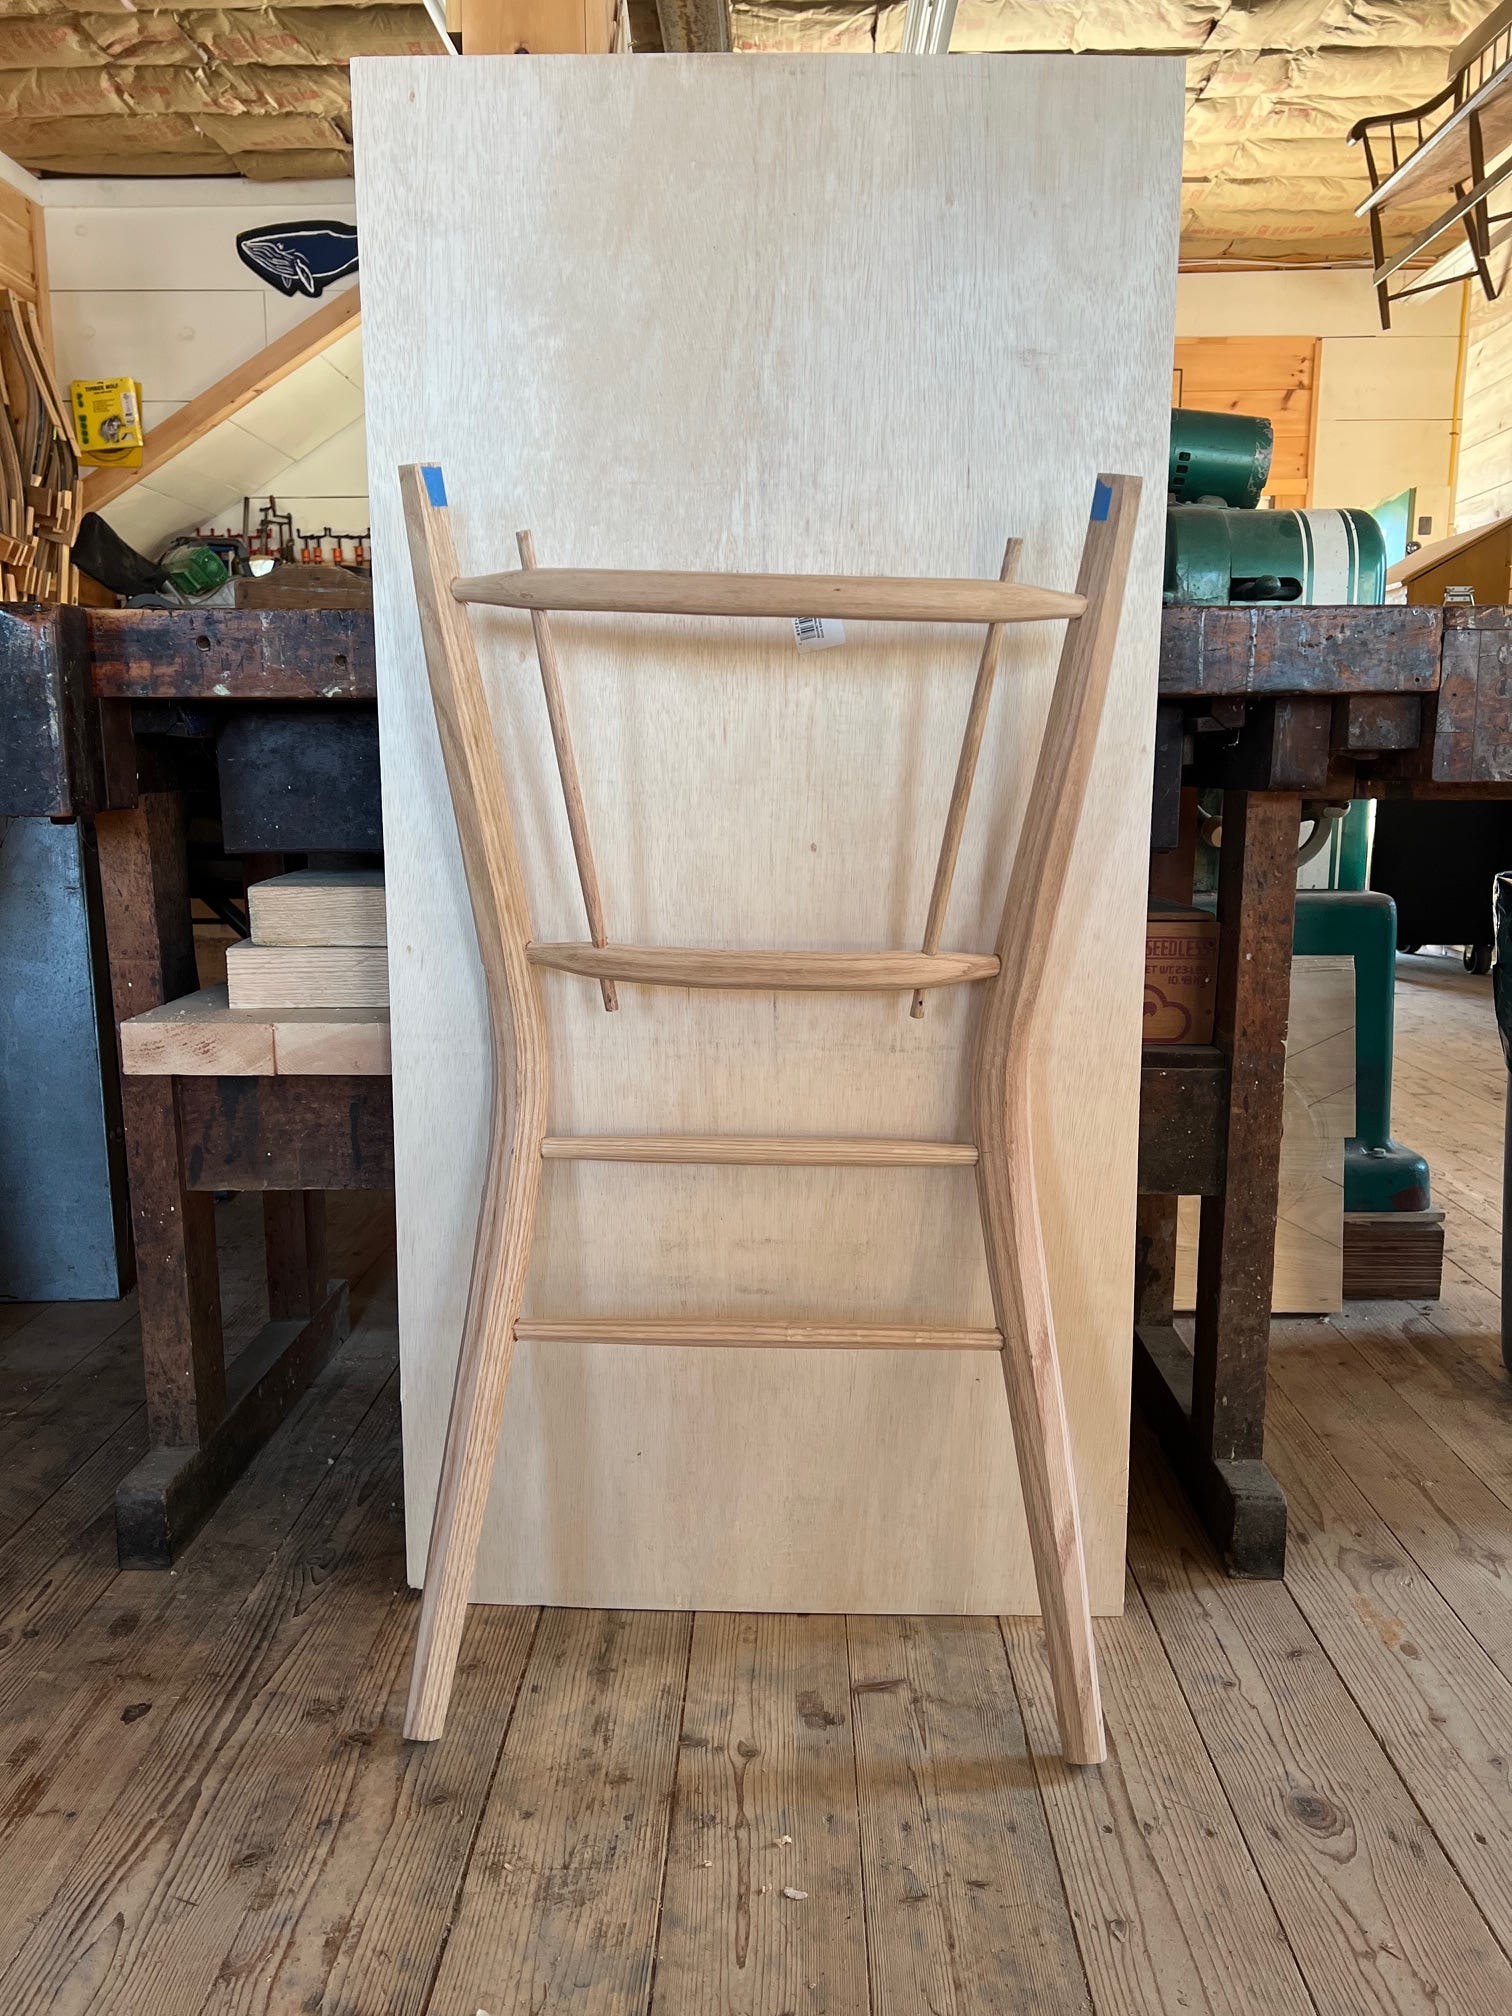
Remove from the clamps and check for twist, using the seat rails as sighting sticks. I needed to flex some twist from my back assembly. To do so, I held the post bottoms with my feet and flexed the frame in the opposite direction. It’s a slow, firm pressure (no sudden twists or movements). I’ll flex it, hold it for a five count, then sight it again.
If adjusting doesn’t take out any twist, place the frame, face down, on the bench and add clamps to the highest post top and foot. Pull the highest points slightly beyond even with the clamp pressure, allow the frame to dry overnight, and remove it from the clamps. There will be some relaxing movement…hopefully it relaxes right into place.
Muttering. Not necessary but helpful.
Last step…trim the stile tops and add wedges.
There are three more writings in this series.
Side rungs, chair assembly.
Adding arms.
Finish prep and weaving.
Thanks for following along. We’ll wrap up this build in the coming weeks.
Thanks, Andy. TightBond III with it's longer open time works here yes? I believe that is what we used in class? It is pretty much all I use (outside of natural glue) unless I have a specific need otherwise. Although I am pretty sure I used Chris' piggly no wiggly glue for the two ladderbacks.
Really solid walkthrough. The way the bent rails feel too long from the front and too short from the back is such a specific thing, but that's excatly how it goes when working with curved pieces. I've had similiar moments building curved furniture where u just have to trust the measurments even when it feels off visually.