Lounge Chair Build #1
Materials, Tools, and Forms
[This is the first post in a lounge chair build Sunday series. Thanks for following along…]
With any build, we need to pick a starting point. I’ll add pertinent information without going overboard (hopefully).
Also, I can’t possibly mention each variable or each tool. I expound on a few tools, to explain why they are helpful (and why a few of them are optional).
Materials:
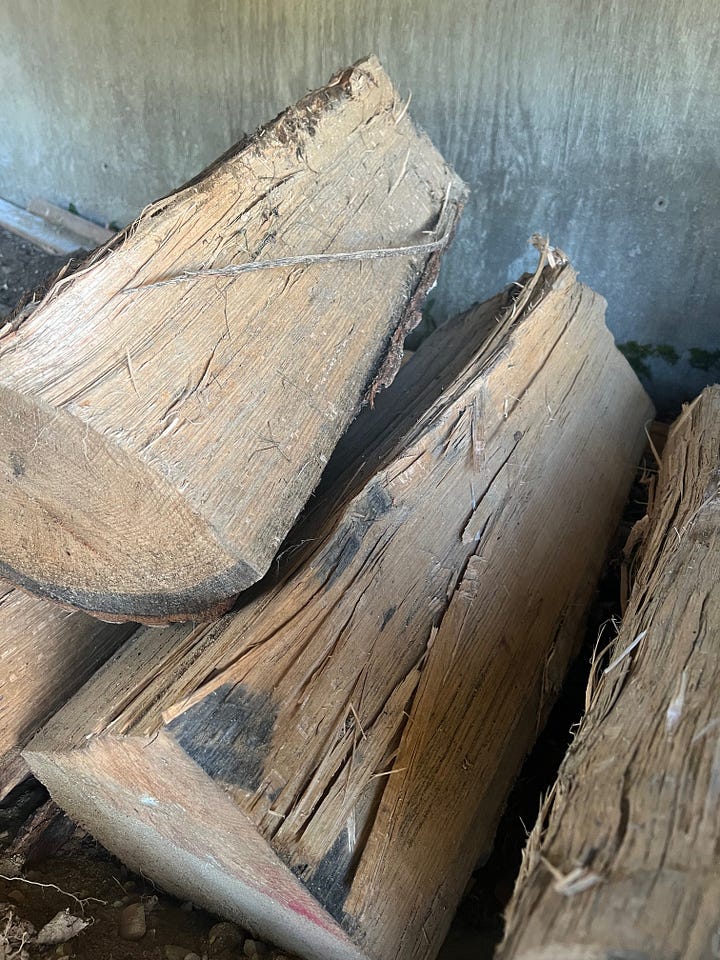
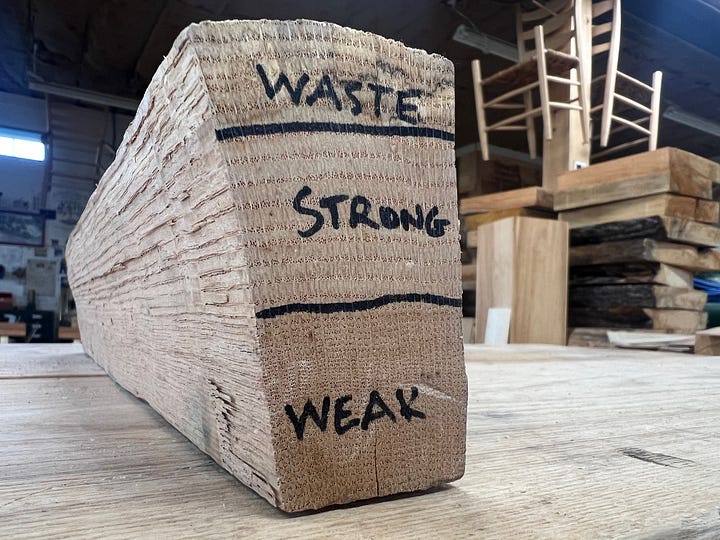
40” lengths of straight grain oak will suffice. I use northern red oak, since it’s beautiful and common to us in midcoast Maine. White oak works, as does ash and other ring-porous hardwoods.
Will soaking kiln-dried or air-dried material work for this chair? I don’t know…haven’t tried it. I see lots of success from chairmakers using dry timber to make Boggs-style Berea chairs. Those chairs have significant bends, and some of those chairmakers use cherry, maple, and walnut (woods that are more bend-fickle than fresh oak). It seems possible, but I’m ignorant to give advice here.
I frequently use a few bamboo skewers for pins. Which is unnecessary if you’d prefer making your own from scrap material. (skewers are found at the local grocer)
Recommendation: find straight-grained, clear material. It’ll make life easier. Avoid material with knots, with curly figure, and anything that’s been sitting on the ground for a long time (Logs/material that sits for long stretches under the sun and on the wet ground is a wildcard. Could be good…could be filled with checks and starting to rot…could be brash but show no visible signs. Best to avoid these logs).
I use green materials for everything except the arms. For those, I use straight-grain rift or quartersawn 6/4 red oak. Due to the drying time needed to fully cure these parts, it’s advantageous to start with dry material.
Weaving options: hickory bark, Shaker tape, or flat reed (among others).


Tools:
The following are recommended hand tools for the chair build. We’ll use a few more (power drills, for example), but this is the primary set of tools during the chair construction. I’ve added a few notes on certain tools below.
Drawknife
Spokeshave
Bevel gauge(s)
Block plane
Framing Square
Tape measure
Combination square
Card scraper(s)
Hand saw/Crosscut saw
Flush cut saw
Claw hammer
Dead Blow hammer or small sledge hammer
Chisels (¼” and 1”)
Utility knife
Drill bits (5/8” for mortises). More on drill bits below.
I use the 5/8” power tenon cutter from Lee Valley. It’s not necessary. Tenons can be made with a hollow auger/brace, or shaping them by hand.
Splitting tools: Wedges, sledge hammer, hatchet, small axe, froe, and brake.
Keep reading with a 7-day free trial
Subscribe to With Working Hands to keep reading this post and get 7 days of free access to the full post archives.

