


Post-and-Rung Rocker
The mechanics of building the chair back

Design and build go together with this process. When I design the prototype for new chair, it goes through this process. When I build any post and rung chair, following an established design, it goes through this process as well. It’s by no means unique to me…plenty of chairmakers use a cradle for drilling posts.
This post addresses the chair back. What I wanted was a way to establish a relationship between the back posts, the back post flair, and the radius of the slats. Many of my early chairs didn’t consider this relationship, and the either the slats entered the back posts at an odd angle (making mortising a challenge), or (if I wanted to keep mortising easy and perpendicular to the sides of the back posts) the posts took on an odd angle that reflected the bend of the slats. I needed a way to relate the two and then use that relationship when bending parts and building the chair.
Some framework:
I’m building a rocking chair in this post and we’re looking at the back assembly.
I usually rotate back posts 20-25 degrees. The more rotation, the more splay below the seat and the deeper the slats and back bends.
There’s flexibility within this method of making and within the process. I can make minor variations during the build if I think something needs changing while making the piece.
For the rocker, we’re using a 23 degree rotation to layout and drill for the bottom back rungs.


The goal here is to get uniform rotation on each post. Using the cradle helps with uniformity (and simplicity).
With the rocker, the lower back rung is 1/8” shorter than the seat. This allows the tops of the post to slightly flair wider instead of appearing upright or vertical. With false rungs in the mortise, I’m able to consider if the frame looks “right”, or if minor variations are needed. Too much upper flair and I’ll add some length to the lower rung. Too little, and I’ll trim the lower rung. These minor adjustments are within tolerance for the mortises.
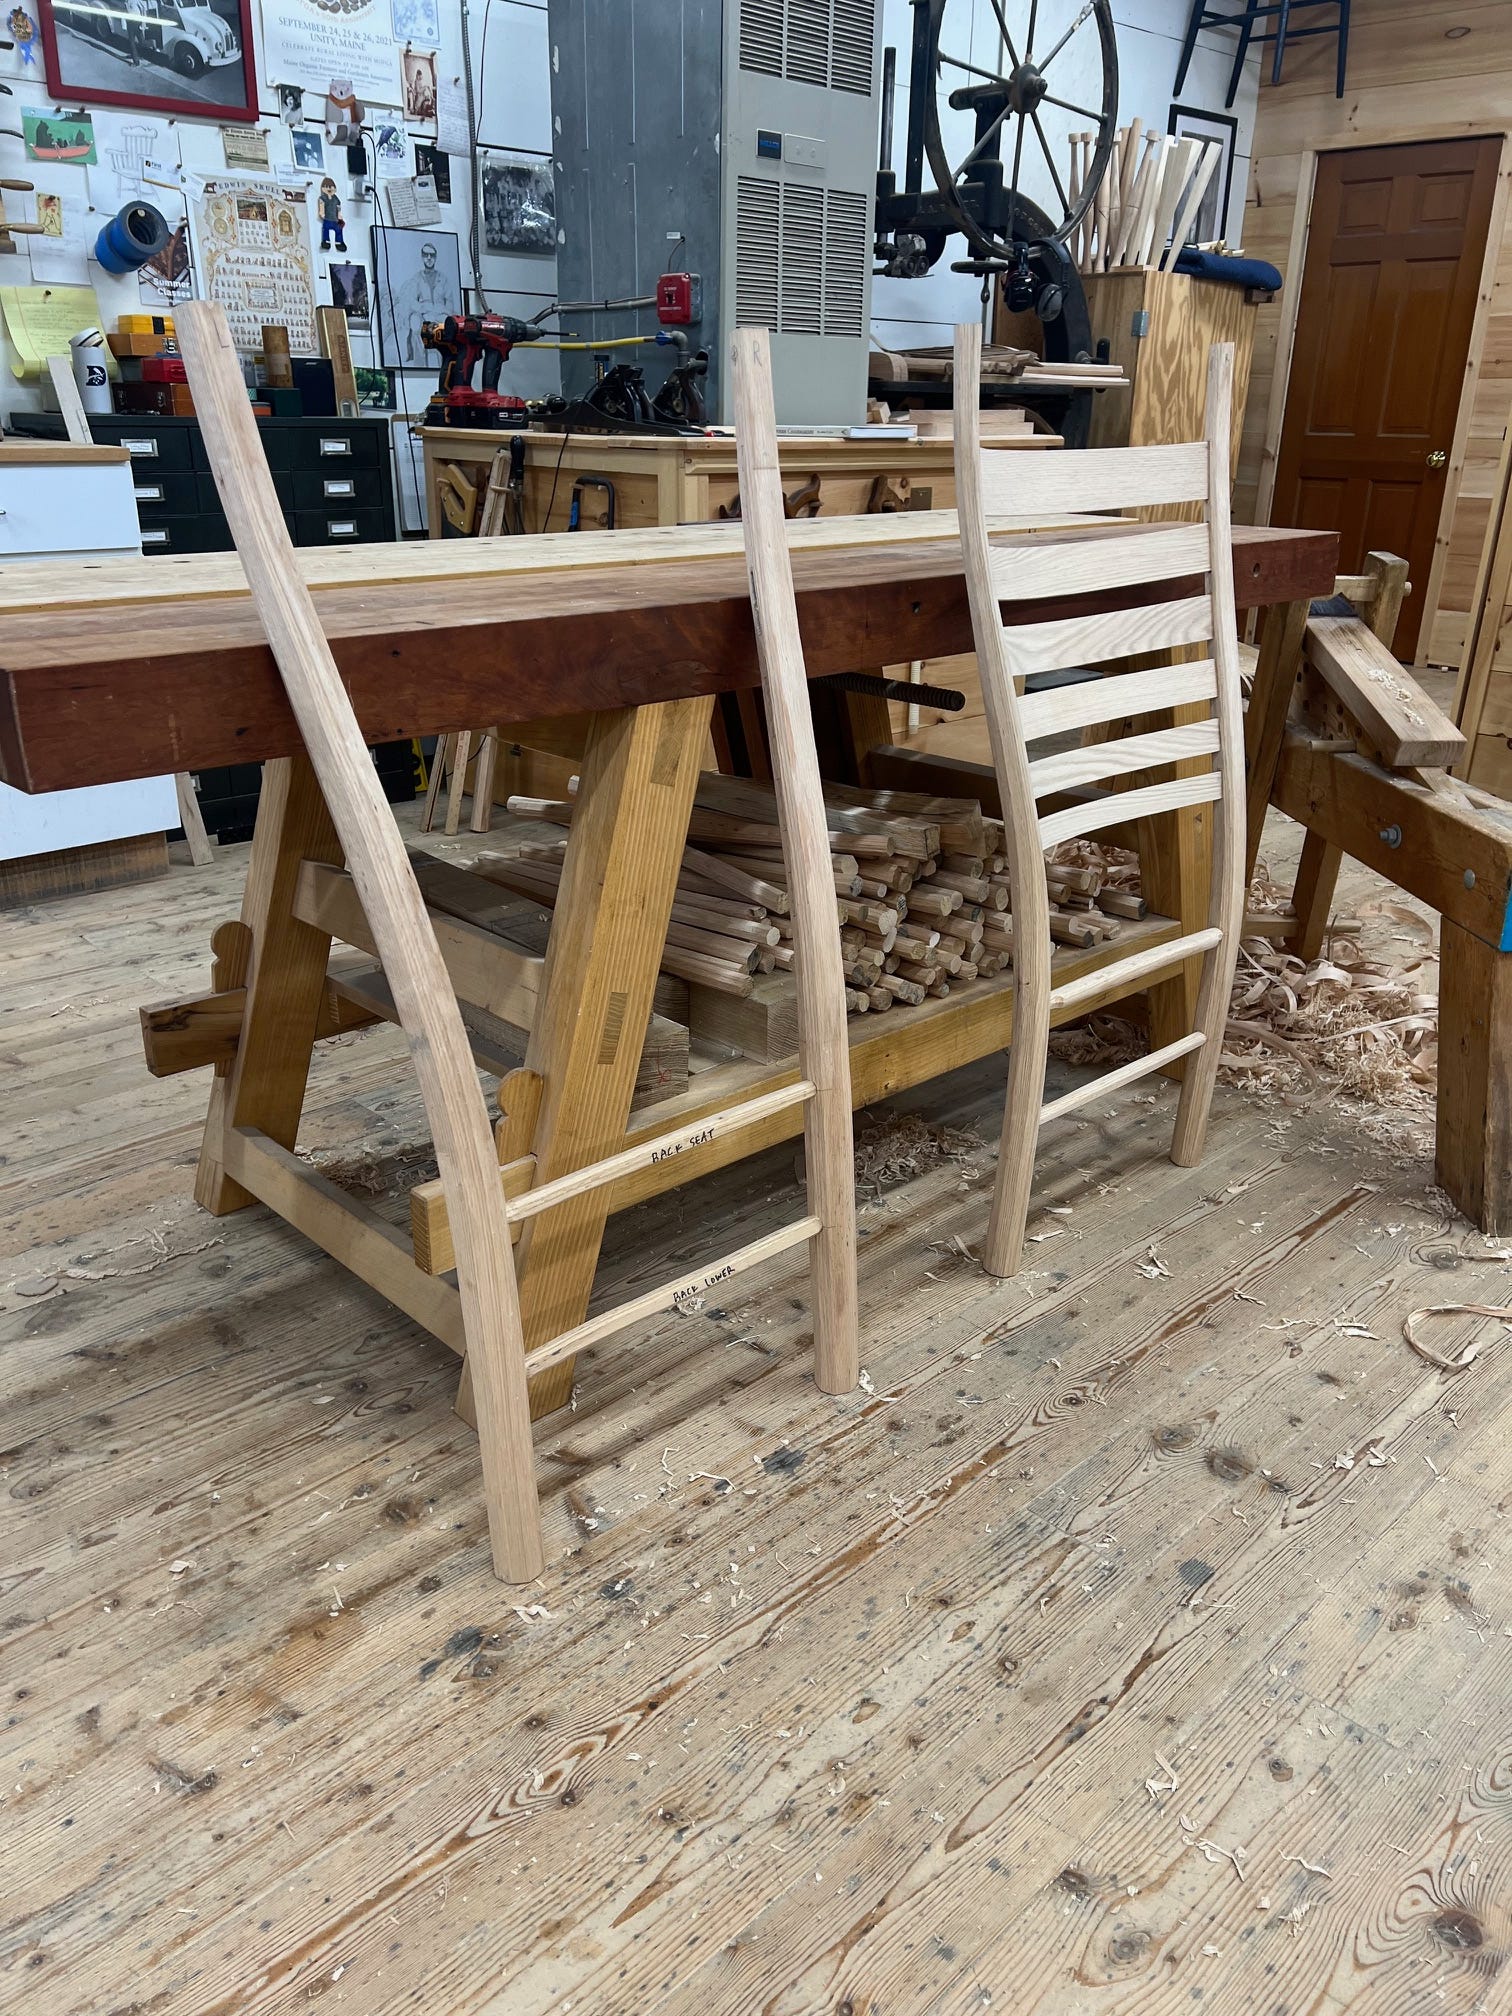
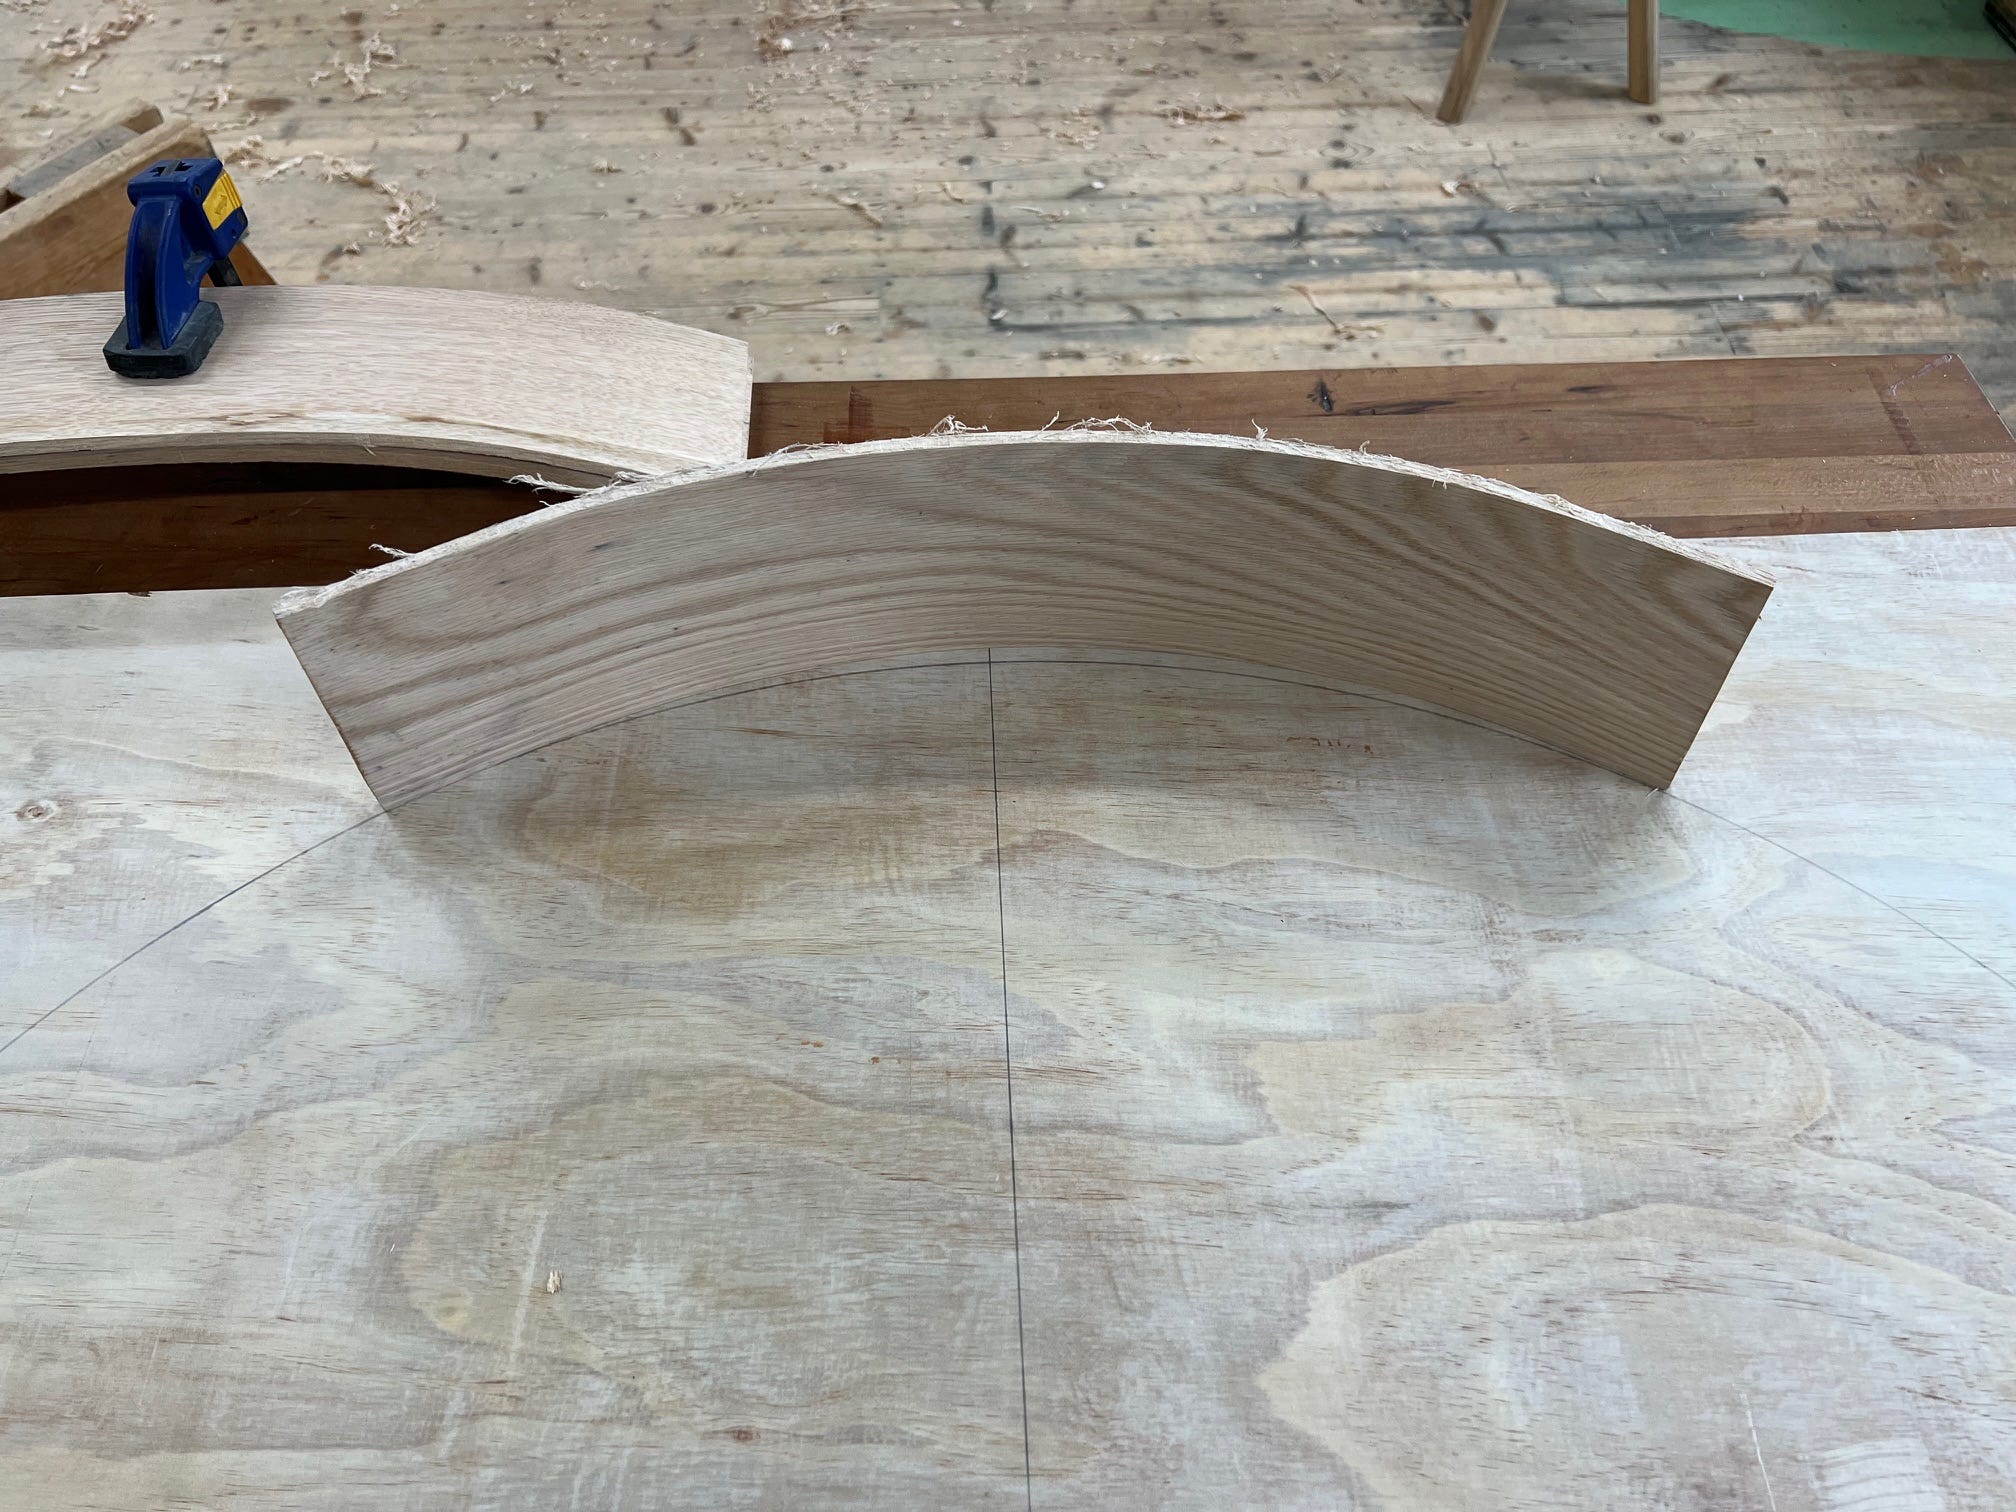
With the rung mortises cut, it’s time to add the slats. The target is to cut the mortise parallel to the front face of the post, or cut perpendicular to the inside face. I lay out the mortise locations using a story stick, and with the false rungs in place, measure the distance between the bottom front edge of the lowest slat. I’d take the distance with me to lay out my slat radius. The radius, based on previous builds, is 19 1/8”.
The slats are bent to a tighter radius and will be flexed back to match the line. I bend all my slats to a tighter radius and relax them back to the desired line. This allows for universal forms (instead of needing to make new forms for each chair or each idea).
And it allows for some adjustment during the chairmaking process. When designing a new chair, I often won’t know the desired radius until the false rungs are in place and the stance of the chair is determined. Making the slats at that moment would crush the momentum, since bending would add a week (or more) of time in the middle of the process.
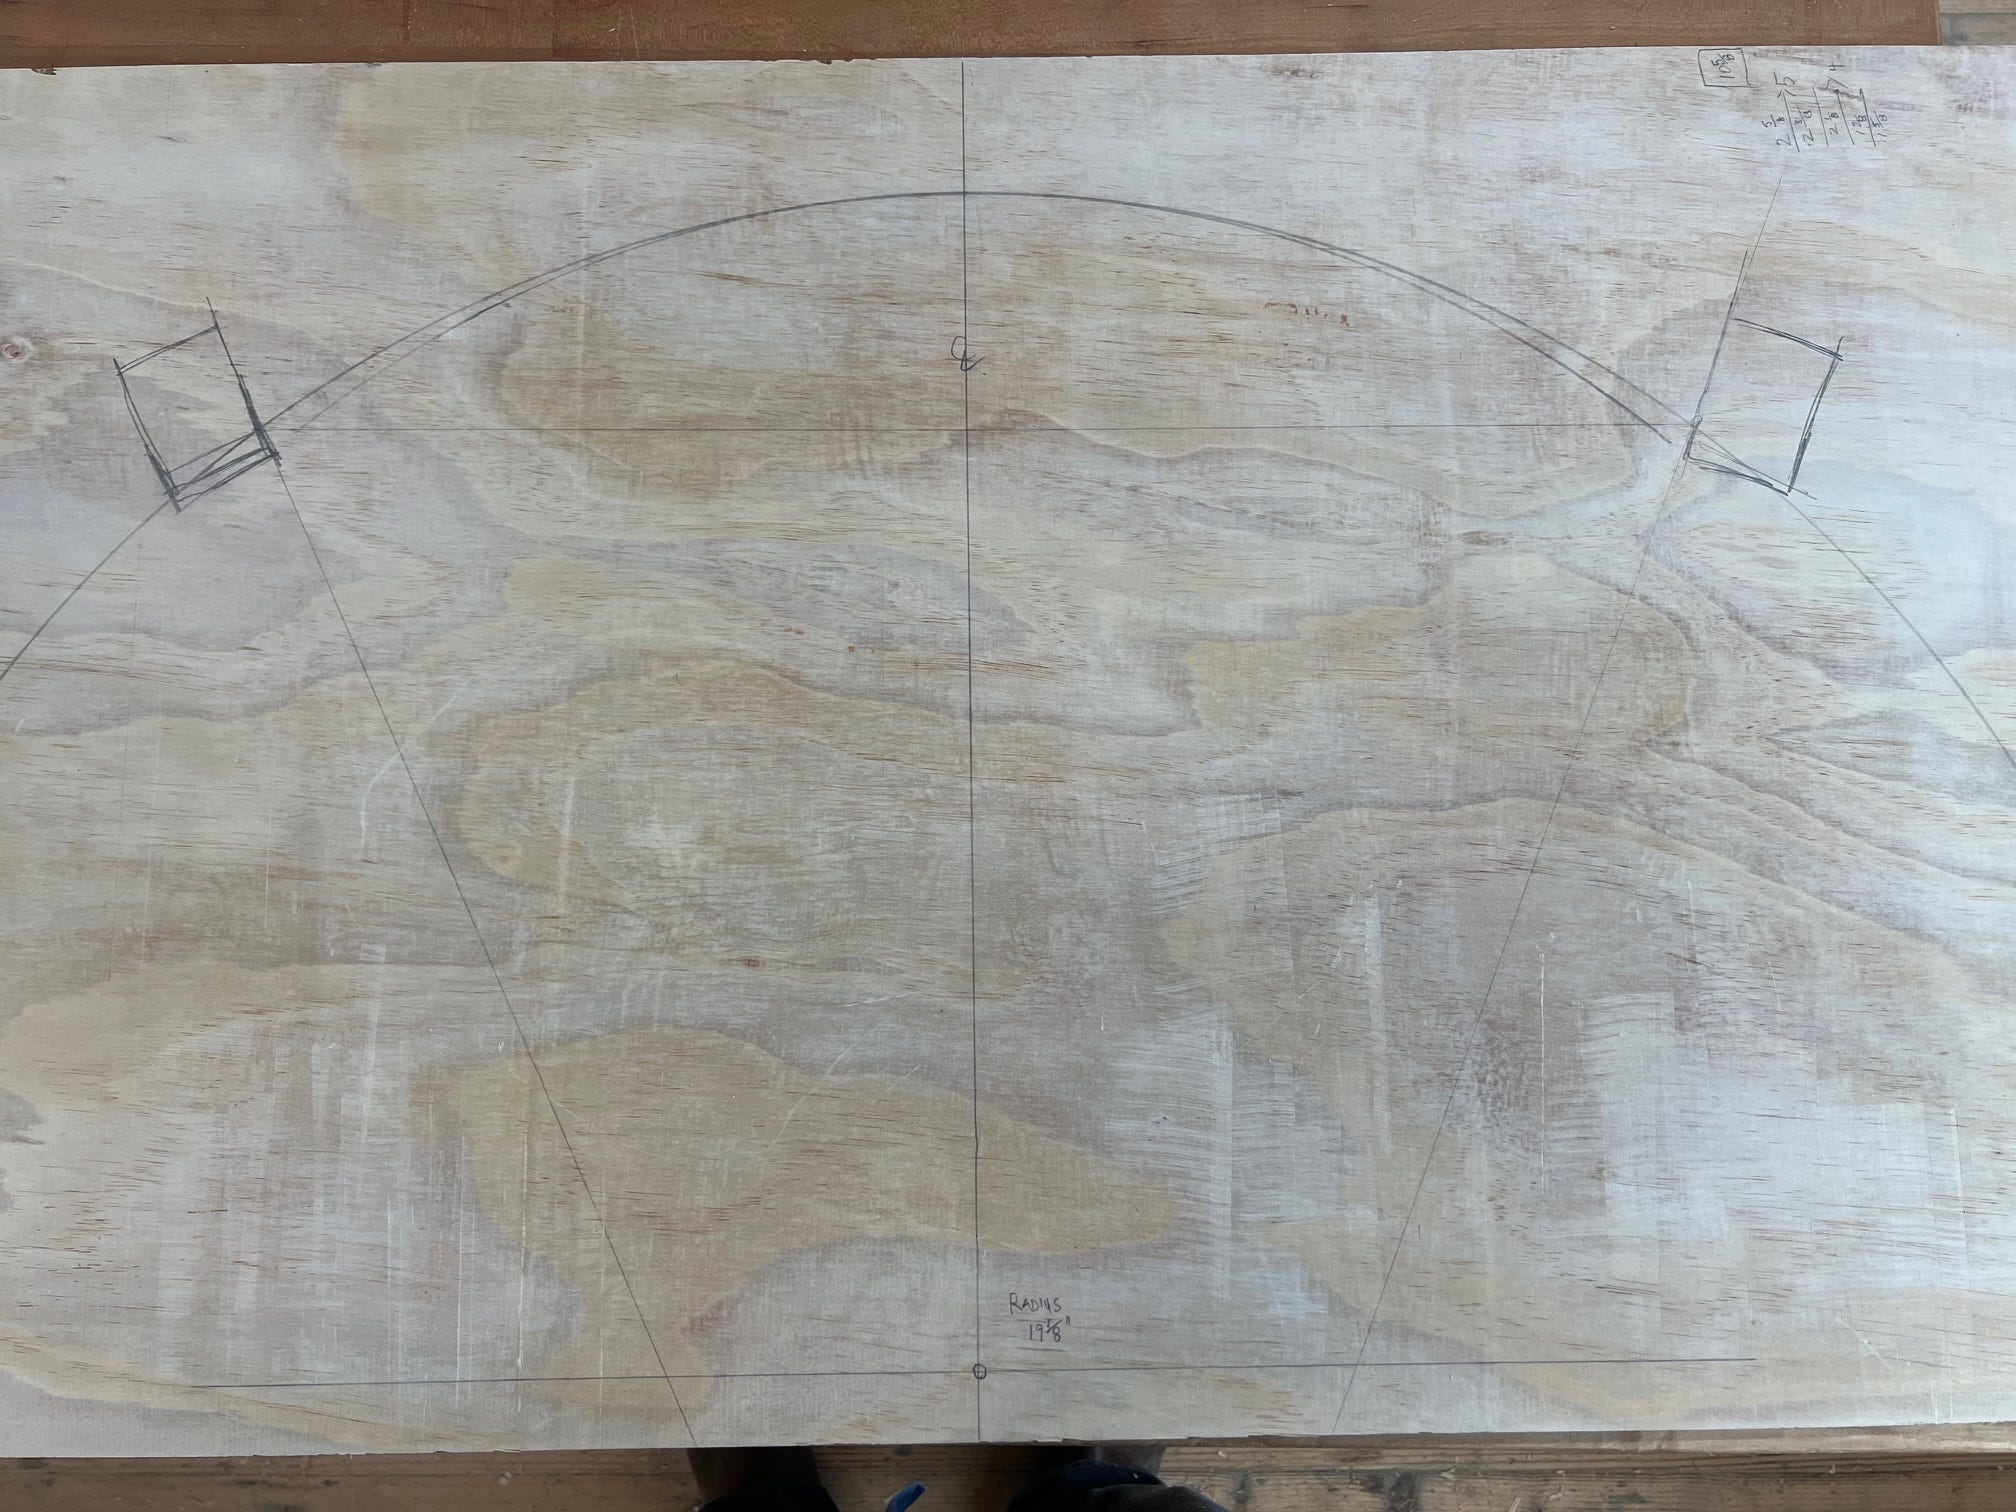
How to determine the radius?
I measure the distance between the lowest slat, then I’ll plot it on an X and Y axis. In the image below, the distance is plotted, and the back posts are rotated 23 degrees on the X-axis. With their location in space established, a line is drawn tangent to the inside face. Where it crosses the Y-axis is the pivot point, or radius length. This provides the slat curve target. [Sidebar, I am no mathematician…no follow up math related questions please. This is the end of my math abilities]
In theory, each slat would have a *slightly* different radius. I have not attempted that level of precision within a chair before. Maybe someday.
In practice, shooting at this target allows each rung to slip into the mortise during fitting. Being “close” is well within tolerance for the slat/mortise relationship. And this method creates uniformity, which looks right when standing behind the chair and sighting down the back slats (the most unforgiving view for a handmade chair).
Chairmaking can be intimidating with parts and angles and relationships all floating in air. This method helped take (some of) the mystery out of it. Its a framework I return to with each chair.


The front legs are nice. I always felt the Boggs rocker could use a curve or twist in the front legs. They look so stark compared to the back legs on his rocker.