January was a good month for chairs. Among other work, I got two stick chairs completed. And even though that was the plan, it doesn’t always happen as intended.
I share some of the design and build process here. The two are visually different, but there’s a consistent thread that runs through them. I wanted to build two in close succession (I’d like to go with a third, but there’s other work to be done) to make small adjustments and tweaks to the second. I’ve always felt like my work takes a step forward when I can do multiples, one after another.
As I start sharing, one thing needs to be said up front. I like both of these chairs. They both have good personalities (that’s not some passive-aggressive insult, I promise). I enjoy seeing them and sitting in them. They’re comfortable. They have good vibes.
I mention all this because I’m going to be critical of them going forward. This is how my brain works when building chairs. It sees and records all the minor changes it’d like to address in a future chair. This is a part of what I like about chairmaking - the evolution. I’m always chasing after the next chair, maybe that one will be just right. Chasing “just right,” but never catching it…
Anyway, here’s the thought process behind the chairs:
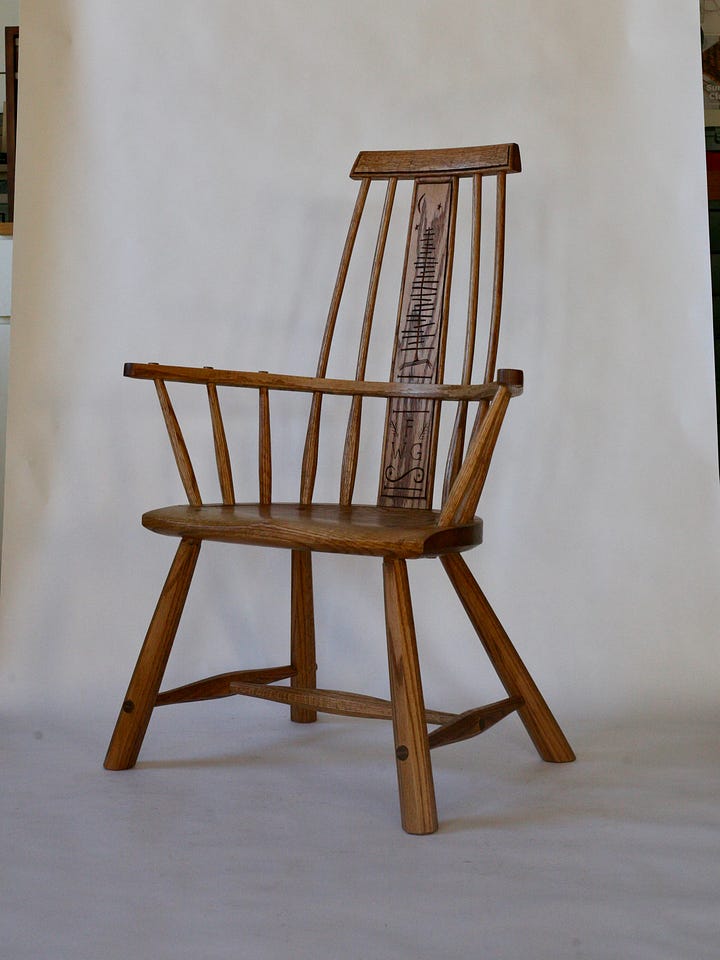
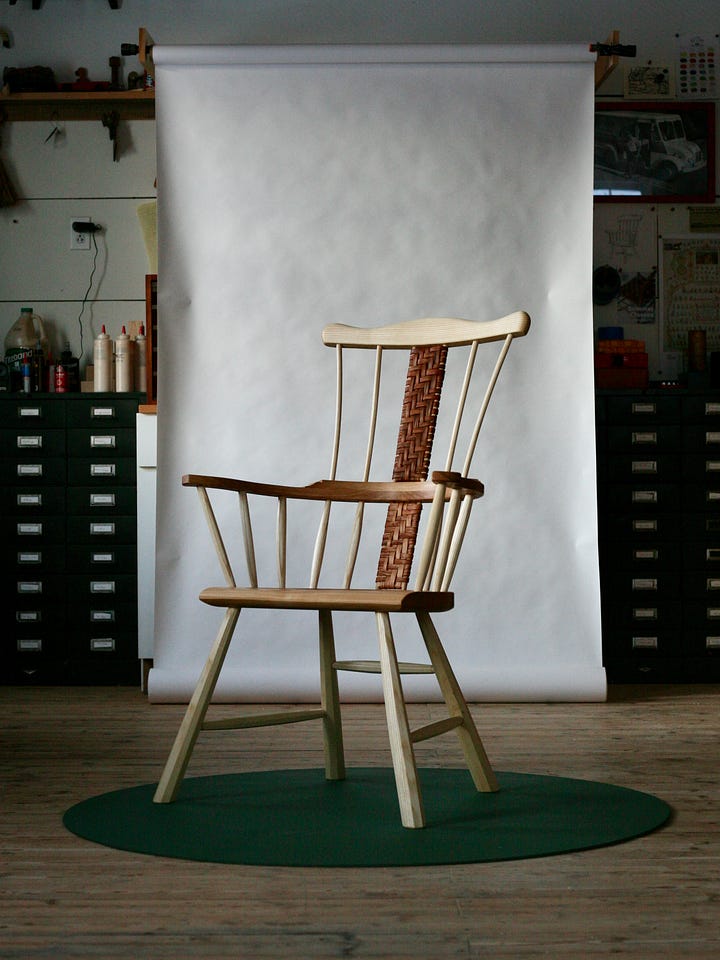
I started with the red oak chair on the left, then made the ash and hickory bark chair.
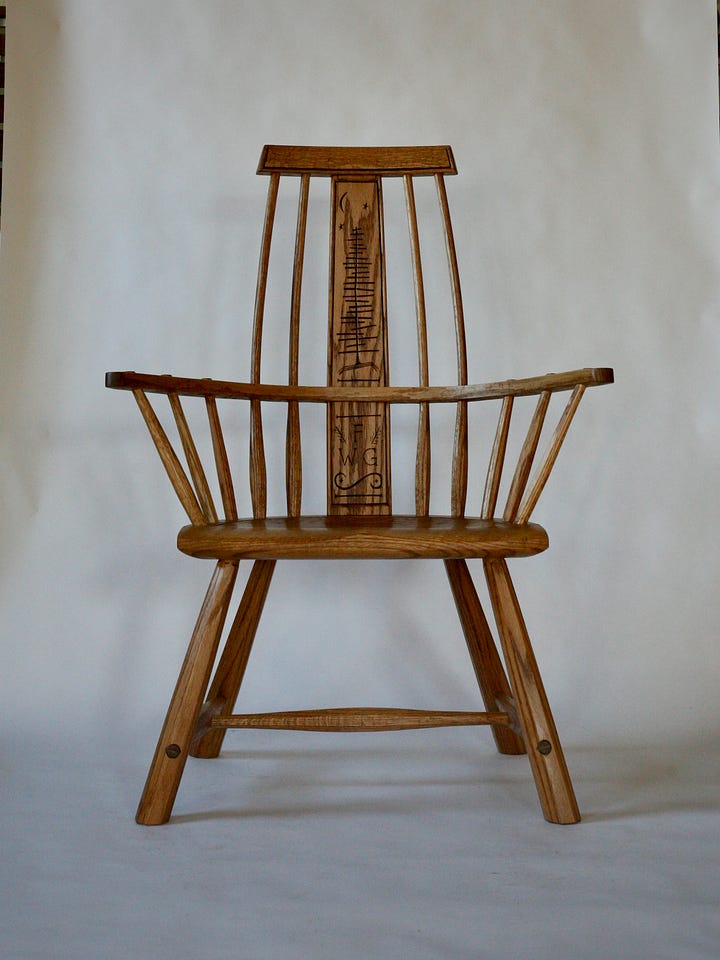
The target for the oak chair: wide stance, single-piece bent arm, a center splat, and to “lobster-pot” the outer sticks (have them flex in towards the comb).
There was a second aspect that I wanted to pursue with these chairs. Instead of having the stretchers, seat, arm and comb all run parallel to one another, I took a page from Mike Dunbar’s writing/work on Windsor chairs to have those components all angle. If the planes of the side stretchers, seat, arm and comb were all continued behind the chair, they intersect at a common point. [That’s Dunbar’s intention…the common intersection point…I didn’t draw mine out ahead of time, so they follow the idea, if not an exactness in practice].
Both chairs shared the same arm fixtures. The front “hands” are 8” up from the seat, and the deepest part of the armbow is 7 1/8” up. Chris Schwarz, and his writings on stick chairs, deeply influenced the arms of both chairs.
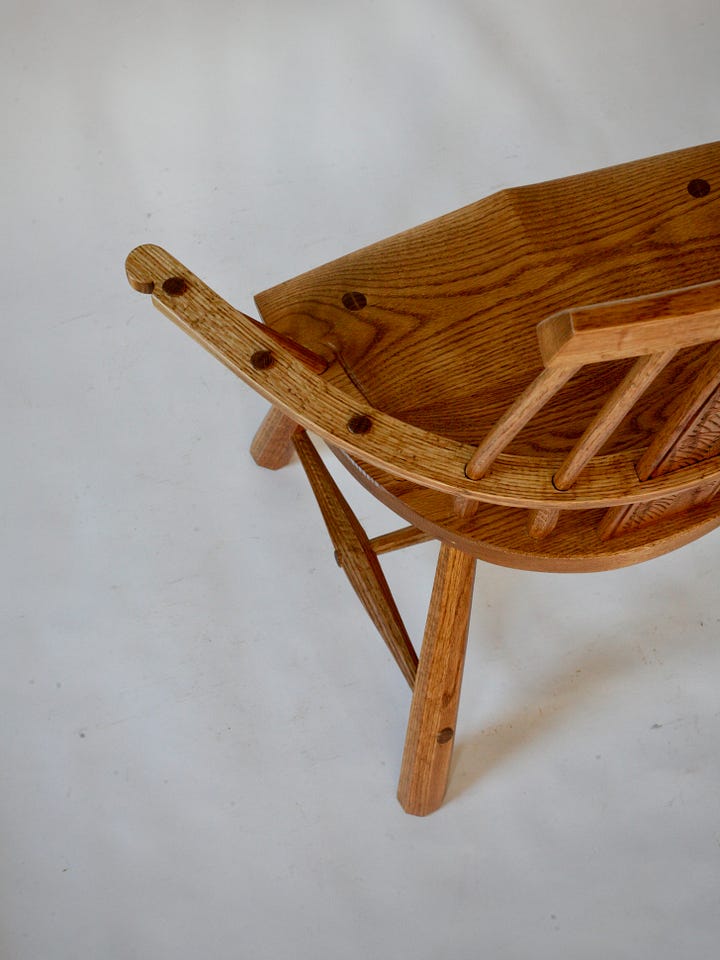
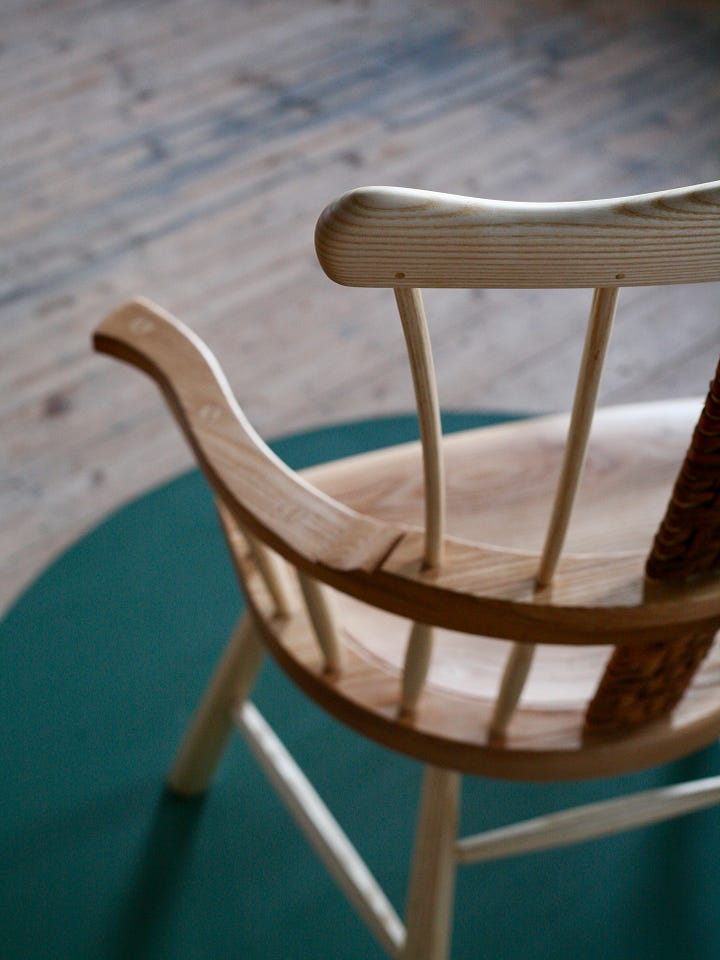
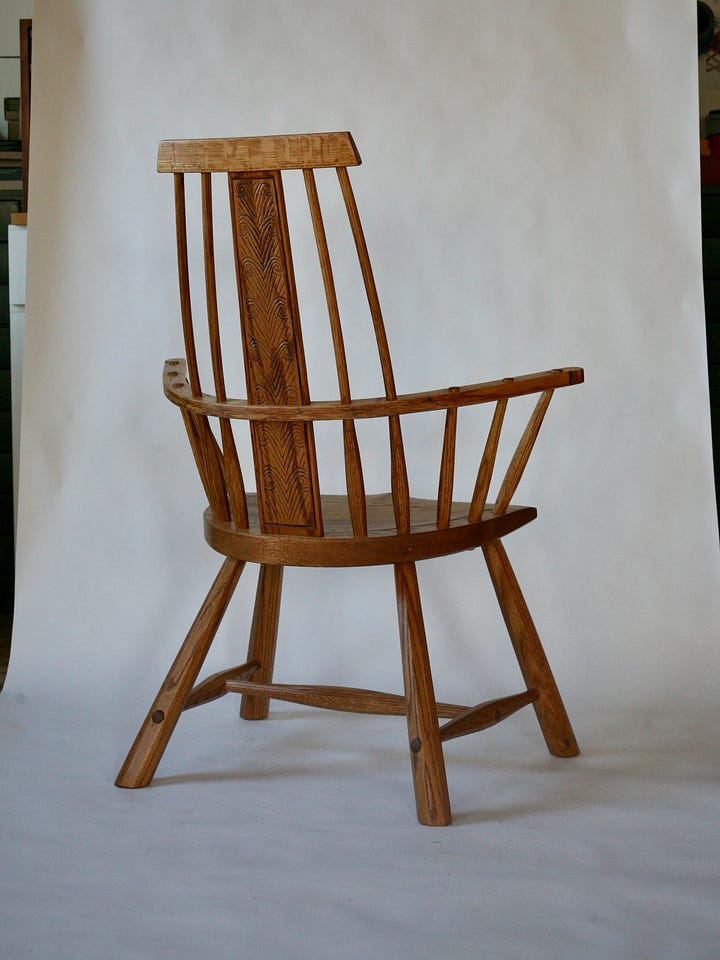
My overall challenge with the oak chair: it became too bold. The leg angles, the ultra-wide arm, and the angled sticks. Add in the carvings, and it’s all a bit much. I don’t think it demands attention, but it’s getting close.
Some details on it. It’s a D-Shaped seat, 21.5” long by 15.5” deep, with a swell on the front. I used the seat pattern to bend the arm, but couldn’t pull the “hands” in tight. Which left a wide armbow. [Note for next attempt: leave the arms 24” long for extra leverage in pulling tight to the form].
Another issue: The back legs are at a 30 degree resultant angle. I found it to be a little much. I made a pattern and noted the changes for the next chair.
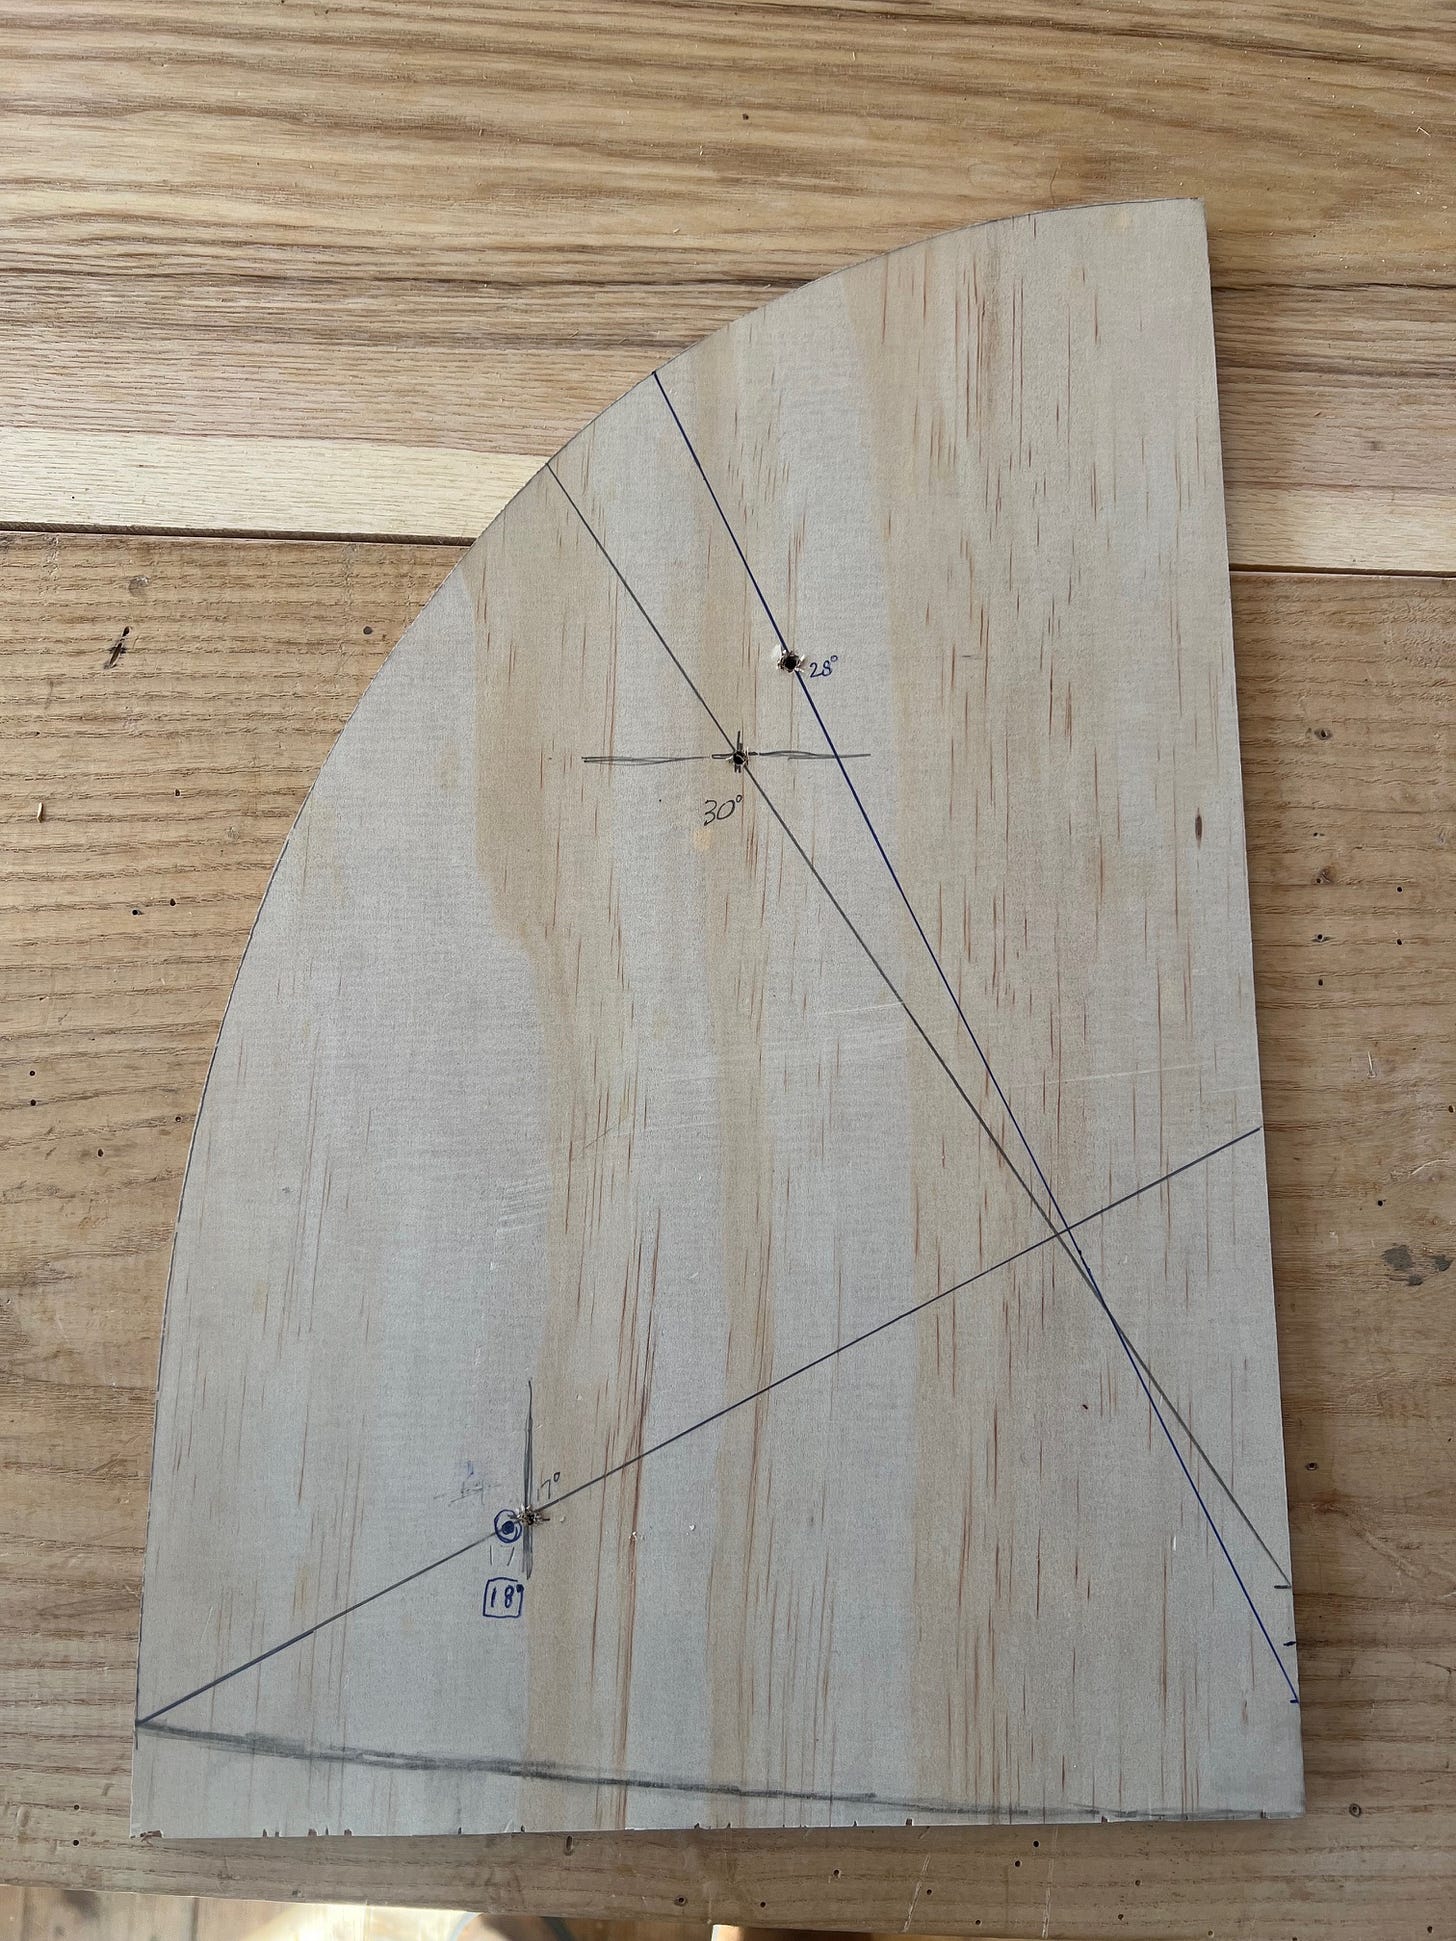
There’s one more aspect to note on the seat pattern. From the oak chair to the ash chair, I pushed the back legs inwards and back. I like, when looking at the front view of the chair, to see the back legs though the front. The wide fronts “frame” the back legs. This didn’t happen with the oak chair. My tenon location was too wide, and the sightline flared too much towards the side. Too much splay. I noted this change with the new location and sightline.
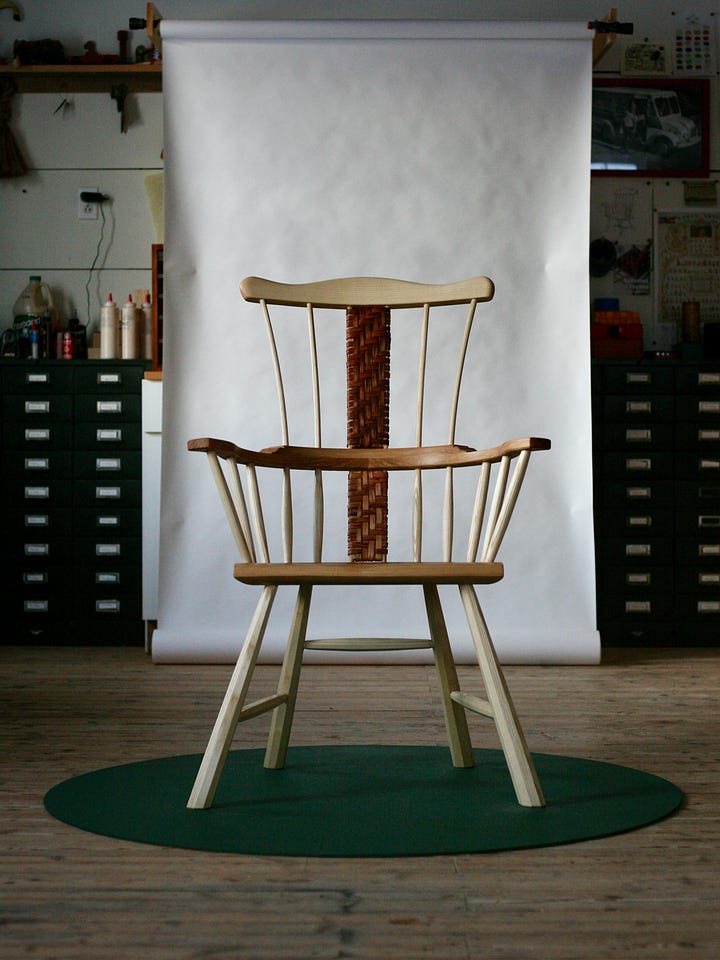
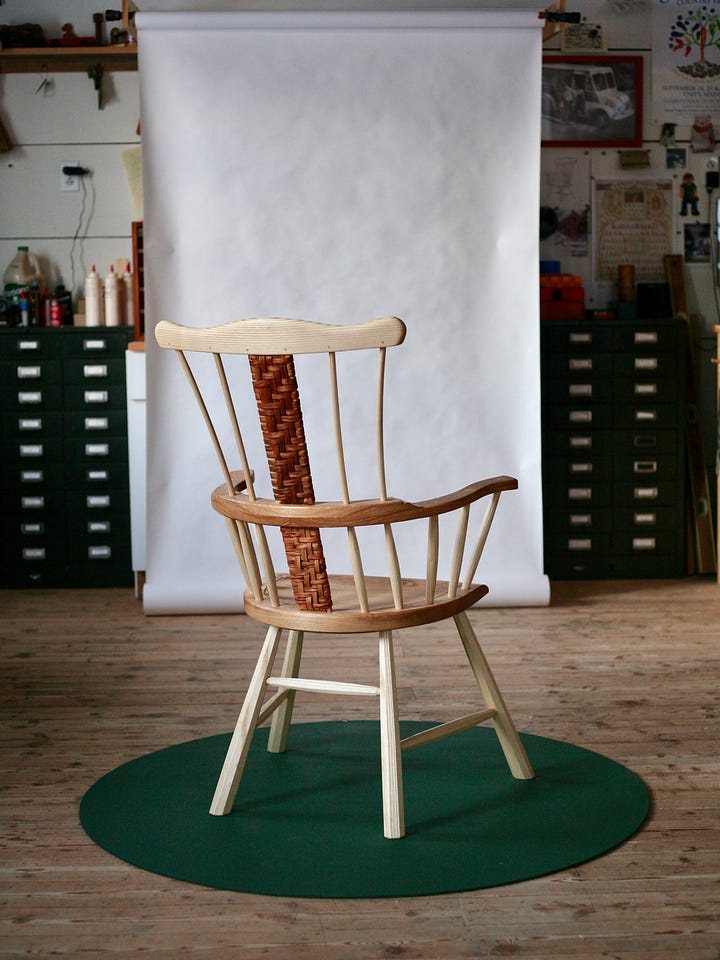
With that, I was onto the ash. The objectives here were a “tighter” chair, with a smaller seat, a smaller radius for the armbow, and to incorporate hickory bark in the wide splat. There’s no pommel with this chair. I like the look of the pommel, but it dictates how the chair is sat in.
The seat is 19.5” wide by 15” deep. I made the adjustments to the resultant angles. The fronts are at 18 degrees, the backs at 28.
I went with a box stretcher with an open front. I like it from some angles, not from others. Something seems off, to my eye, with chairs with only side stretchers. With the high back stretcher on the ash chair, most front views of the chair hide the elevated back stretcher. I like it when its visible, as with all the back views of the chair.
The arm: I like the lines of it, and it’s comfortable. The cons - it seems heavy from some front angles. I think it’s the shoe, which doubles the thickness and provides durability. I don’t want to lose durability by pushing these components too thin on future chairs, but it’s something to investigate.
Flaring the upper ash sticks worked well. As did thinning them (the oak sticks are 5/8” entering the comb, they’re 1/2” in the ash chair).
I do this with all my work. Each piece is viewed through this critical lens. It’s how the work evolves and progresses over time. I make notes for each piece after it’s completed (and the “new work aura” has worn off). This time I’m sharing those notes publicly.
Do I view other people’s work this way? No. For starters, it’s not fun viewing my own work this way. It’d be more enjoyable to put an “It’s Awesome” sticker on the work and move along. But I’ve learned to both appreciate the furniture and compartmentalize the critique. It’s simply how I work.
While I work this way, it’s discouraging to look at the furniture of other makers with a critical eye. I have no intention of building other people’s work, so I don’t need to think through it in the same way.
I take an opposite approach when engaging with furniture, or going to a museum or a gallery. When entering the room (and I have the Messler Gallery close to me, so I get to see great furniture with some frequency), I browse the space and approach the pieces that that catch my eye.
I ask:
“Why was I drawn in?”
“What is appealing about this piece?”
I start from that point and proceed from there. There’s great work all around. I’d hate to miss out because I viewed it through a critical lens.


Great breakdown! What was your final thickness and depth of the bent armbow? I always fear that it will be too delicate, but looking at 200 year old sackbacks with 1/2" x 5/8" armbows gives me some peace.
I've been bending armbows recently with dimensions and results all over the place... I came to the same conclusion that the blank needs to be substantially longer than the finished bow perimeter. For me, it was partially because of the additional leverage to wrangle the arms, and partially because the bending strap and bending form were getting in the way of each other.
Beautiful work and your considerations are valuable- so valuable to see how others think about design and function.