A trip to the log yard carries all sorts of possibilities. My local yard carries a great selection of red oak and ash (though the emerald ash borer is up this way and that makes me wary). At times there’s good white oak. Other times great birch and maple. But I’m purchasing northern red oak because it’s consistently great around our parts.
[Why red oak? Because it splits consistently along the grain, works beautifully with hand tools, is plenty strong for thin chair parts, and makes a charming chair. Plus it is reasonably priced and available in my neighborhood.]
I initially visited this yard about three years ago, first stopping into the small office and introduced myself to the timber owner. This yard buys from local cutters and sells by the trailer load to different industries. After a few pleasantries, I placed my cards on the table.
“I’m a chairmaker. I’ll only need a few logs a year and I’m picky. Plus I don’t have a truck or trailer, so I’ll need the logs cut to manageable lengths or delivered. And I’ll need you to show me around the yard and explain how things work here.”
By sharing in this way, I wanted to give the owner a chance to shoo me away before investing time with me. I figured I may be more of a pest than profitable. But the opposite happened. Kenny immediately toured me around the yard, explained the grading system, and was happy to work with me. He shared that he supplied for other craftspeople as well. We’ve worked together ever since.
This past Tuesday morning was another log-shopping day. I always look forward to it. Kenny pointed me towards the best of the red oaks on the lot then left me alone to consider each option. I usually shop in the 16” diameter range since I have to carry it home in a van but this time a 21” V3, 10' log was ideal. Plus it was sitting on top of the loader.
I usually go for V1 or V2 (V for veneer grade) - clear, with no obvious defects. It’s better to pay the premium for great material then work around a collection of knots, twists, and other problems. The V3 had one large cat face present - downgrading its rating and reducing the price, while also meaning that I’m paying for expensive firewood in one part of the log (hopefully only one section of the log).
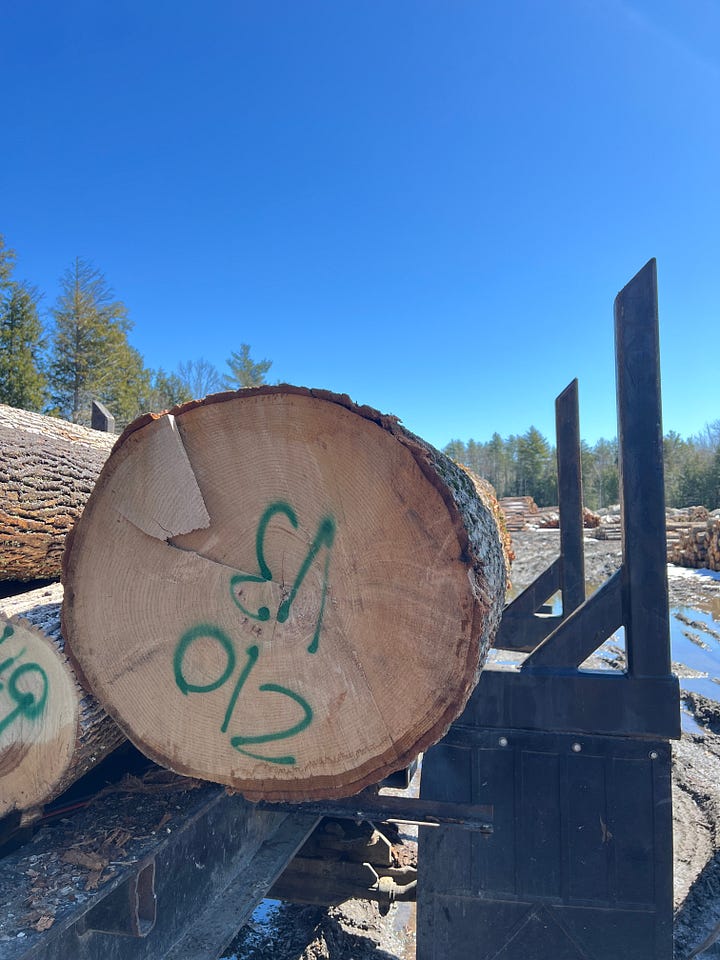
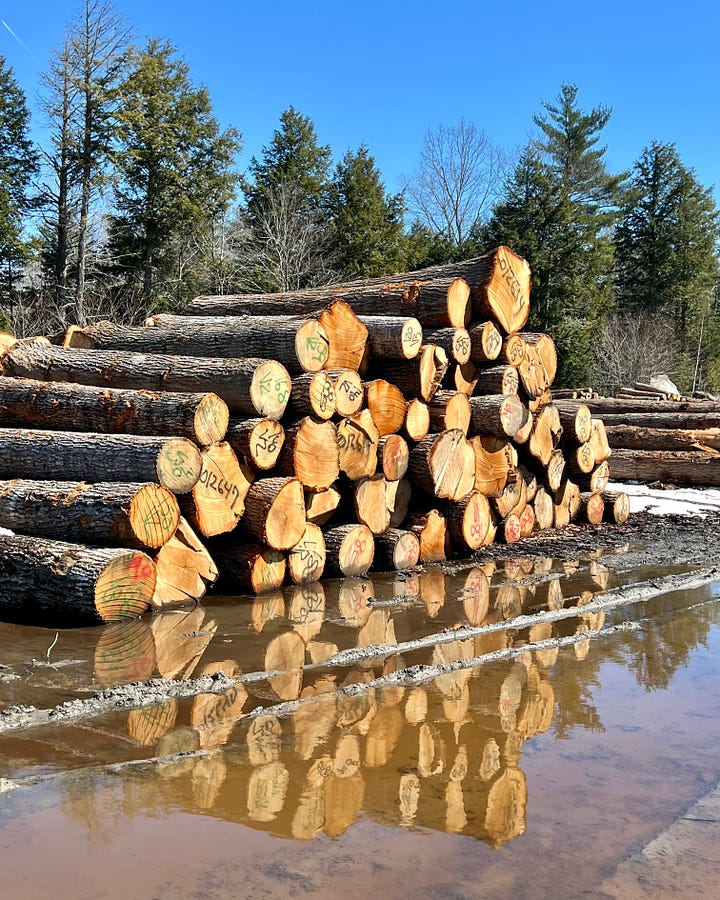
The reason I went for this one was the other characteristics, outside that single blemish, were all outstanding - superior to the combination of traits found in the other logs on the lot (I try not to consider logs buried in a pile….I’m already a nuisance). The 10' log cost $2/bf. 195/bf in the log; $390 total - making this the largest and most expensive log I’ve ever purchased.
There were a handful of characteristics that made it ideal:
No signs of spiraling along the length of the trunk.
The pith was center-ish.
Outside of that cat face, the log was big and boring. No outward signs of figured grain or any significant sweep near the base cut.
This was the deciding factor: The growth rings were 1/4” to 3/8” apart across the complete diameter of the tree and significantly wider than other logs. Wider is good. Wider rings mean stronger parts.
One last thing going in its favor….it was large. As large as I could handle. When selecting material to work green and split, larger (but still managable) is better. The pith, and the 3-4” around it, along with the sapwood are all waste. The larger the tree, the more quality material. A tree that is a few inches larger in diameter than another may have twice the amount of usable wood.
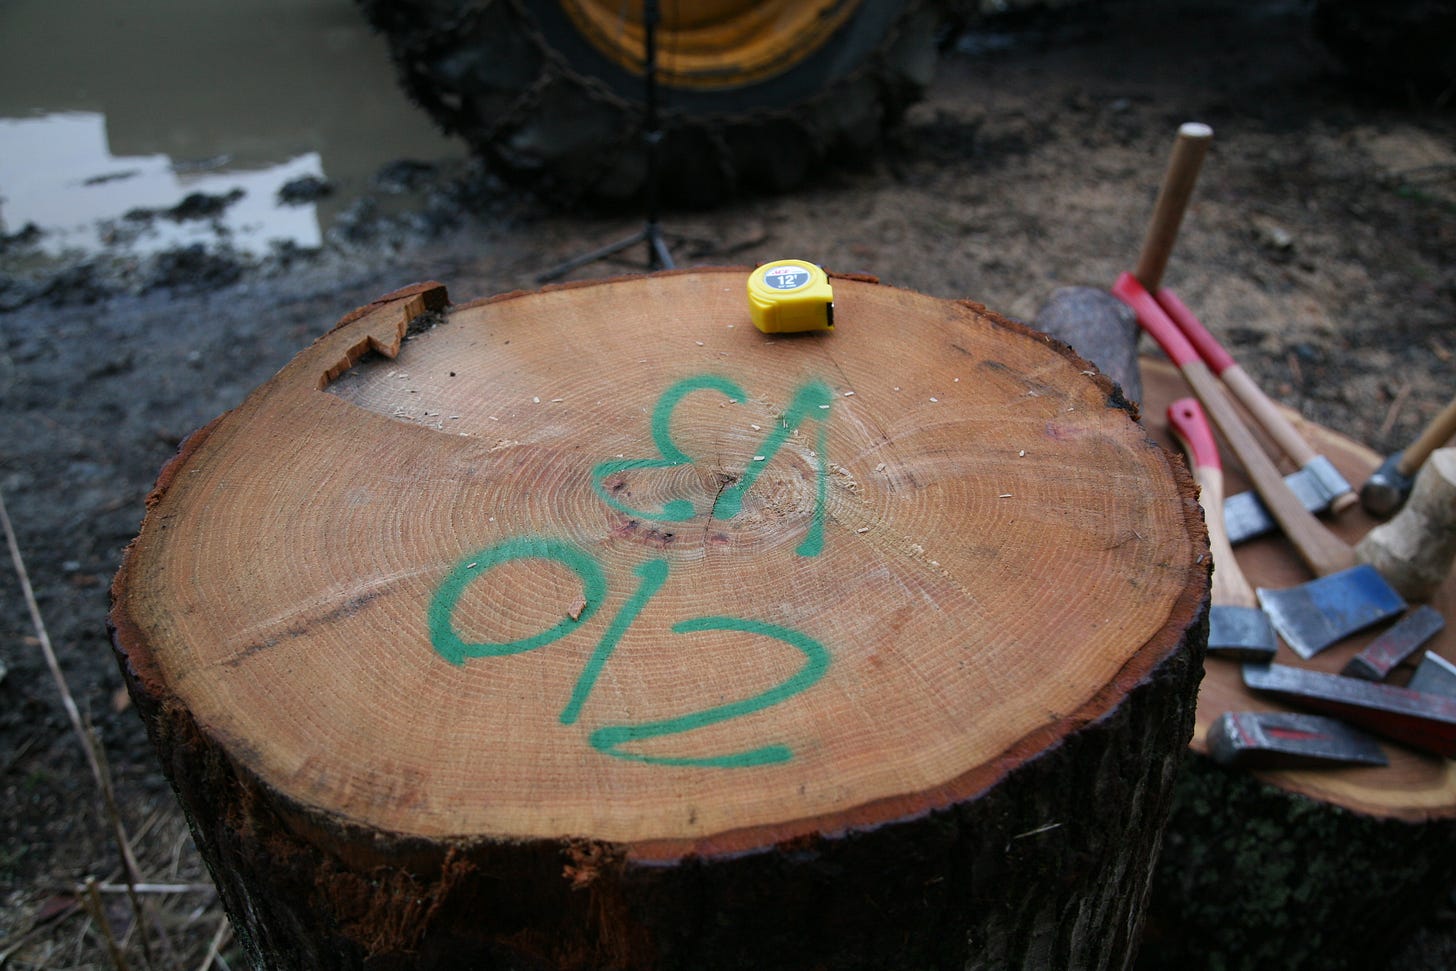
I marked the cut lengths, then came back a few days later to collect. I marked the knotty area within a longer section to contain the problem area and hoped for the best. Kenny placed this log’s lenghts upright out of kindness - though that puts the ends into the dirt - so I’ll ask him to skip that step with future logs. I usually split while these are laying horizontal on the ground…..and they were too big for me to push back over.
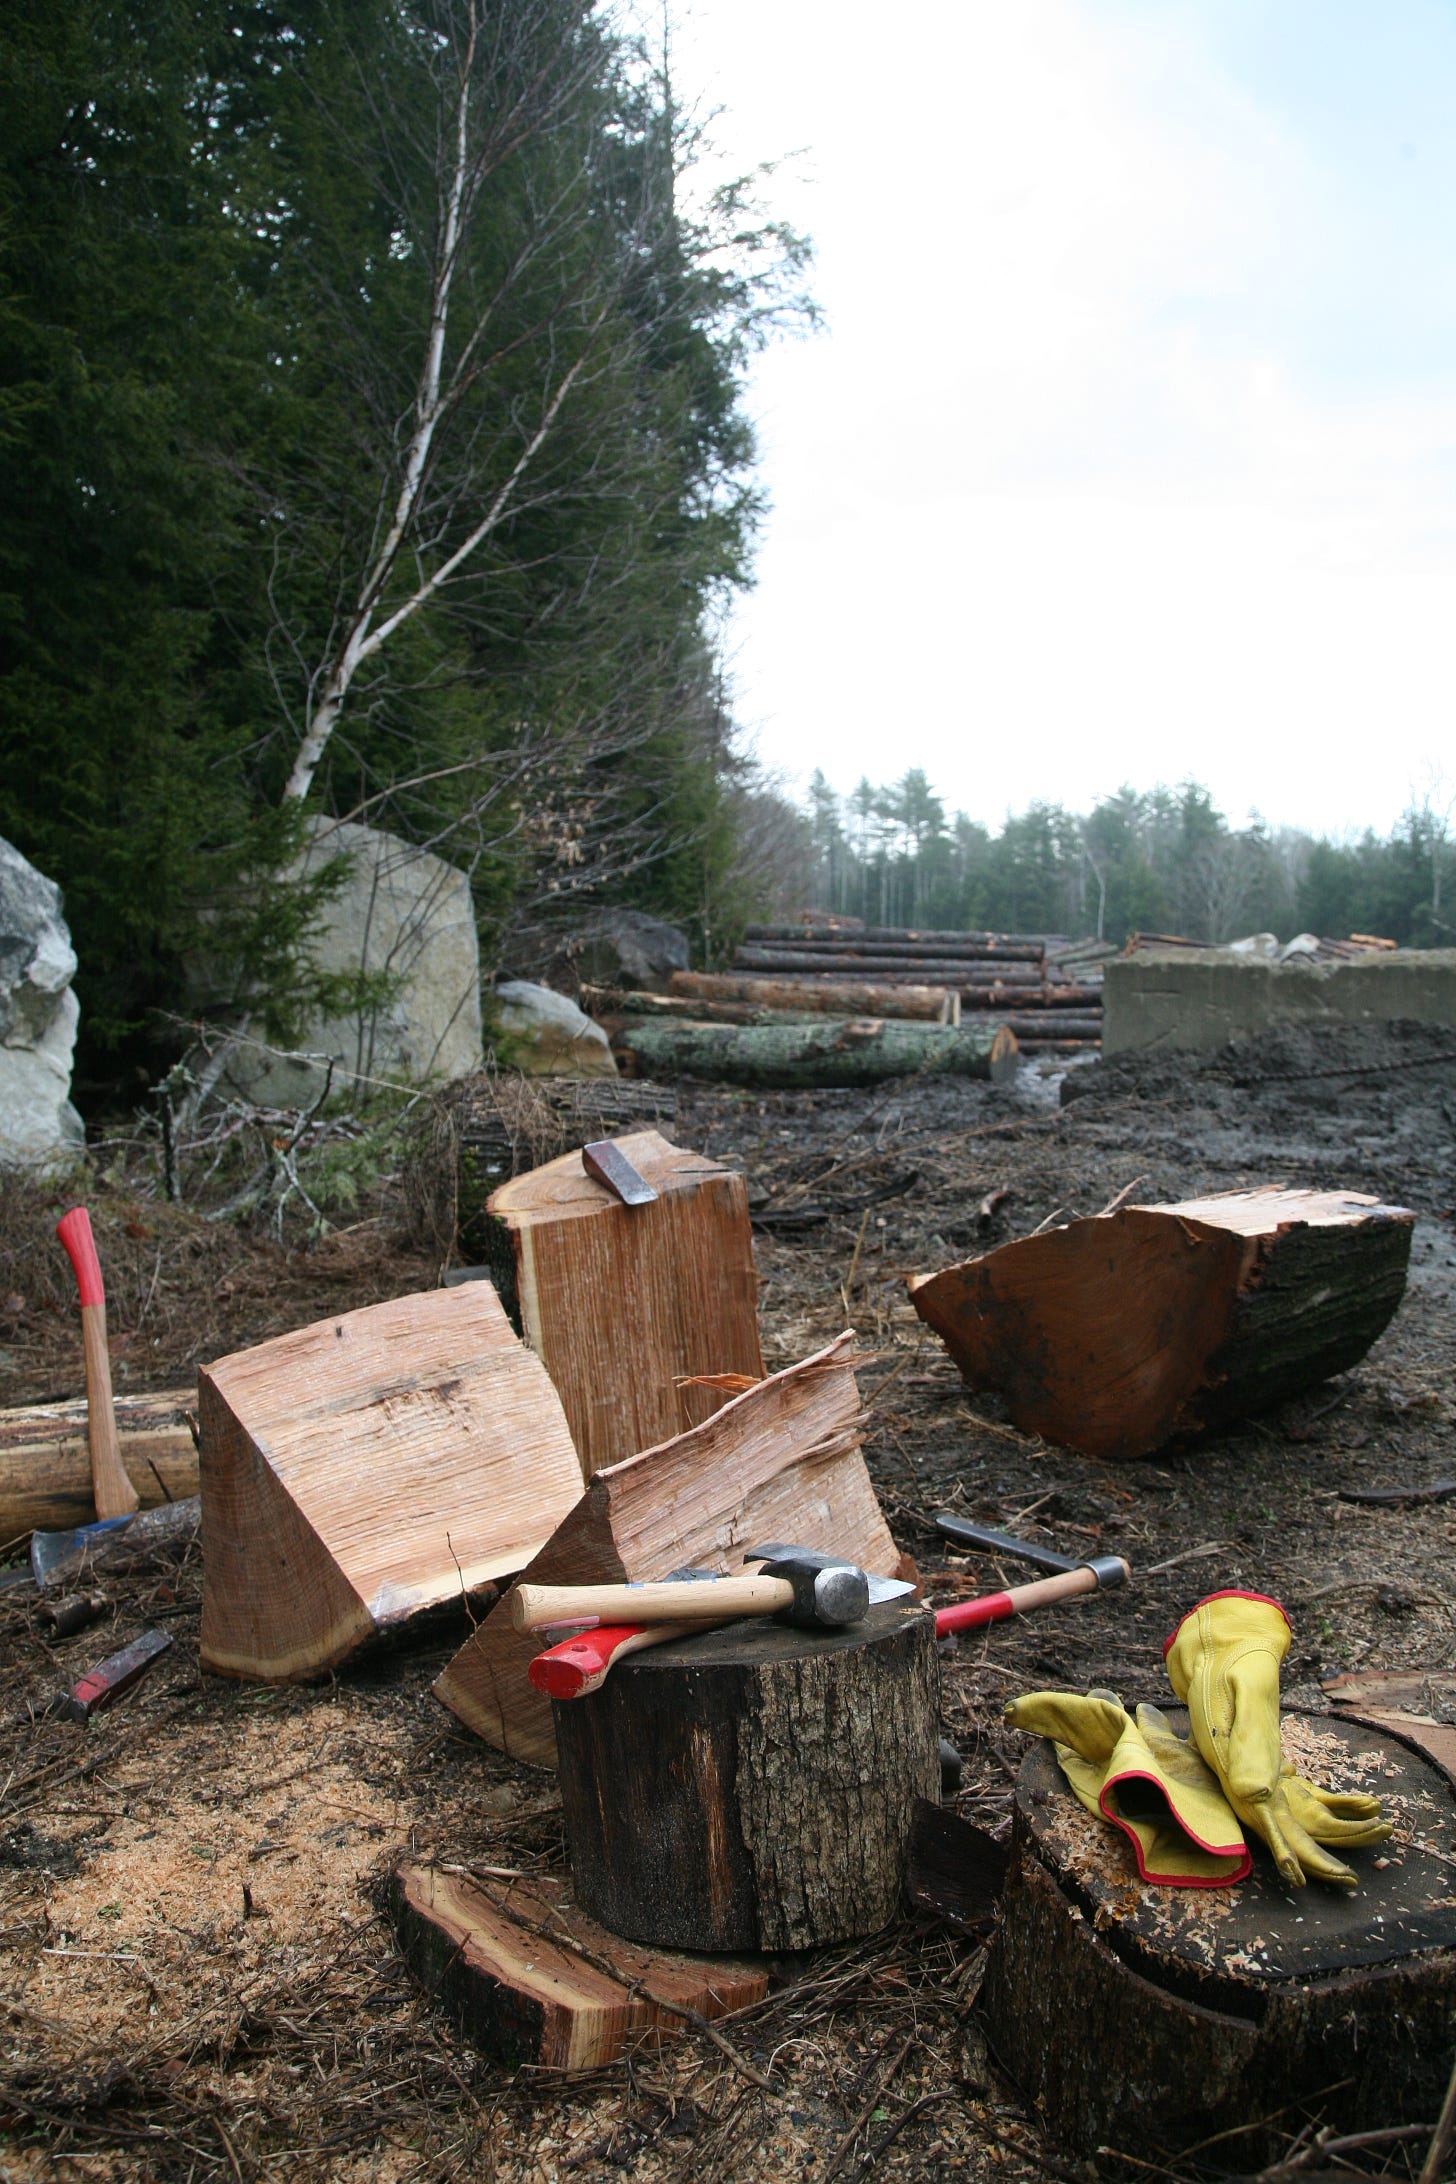
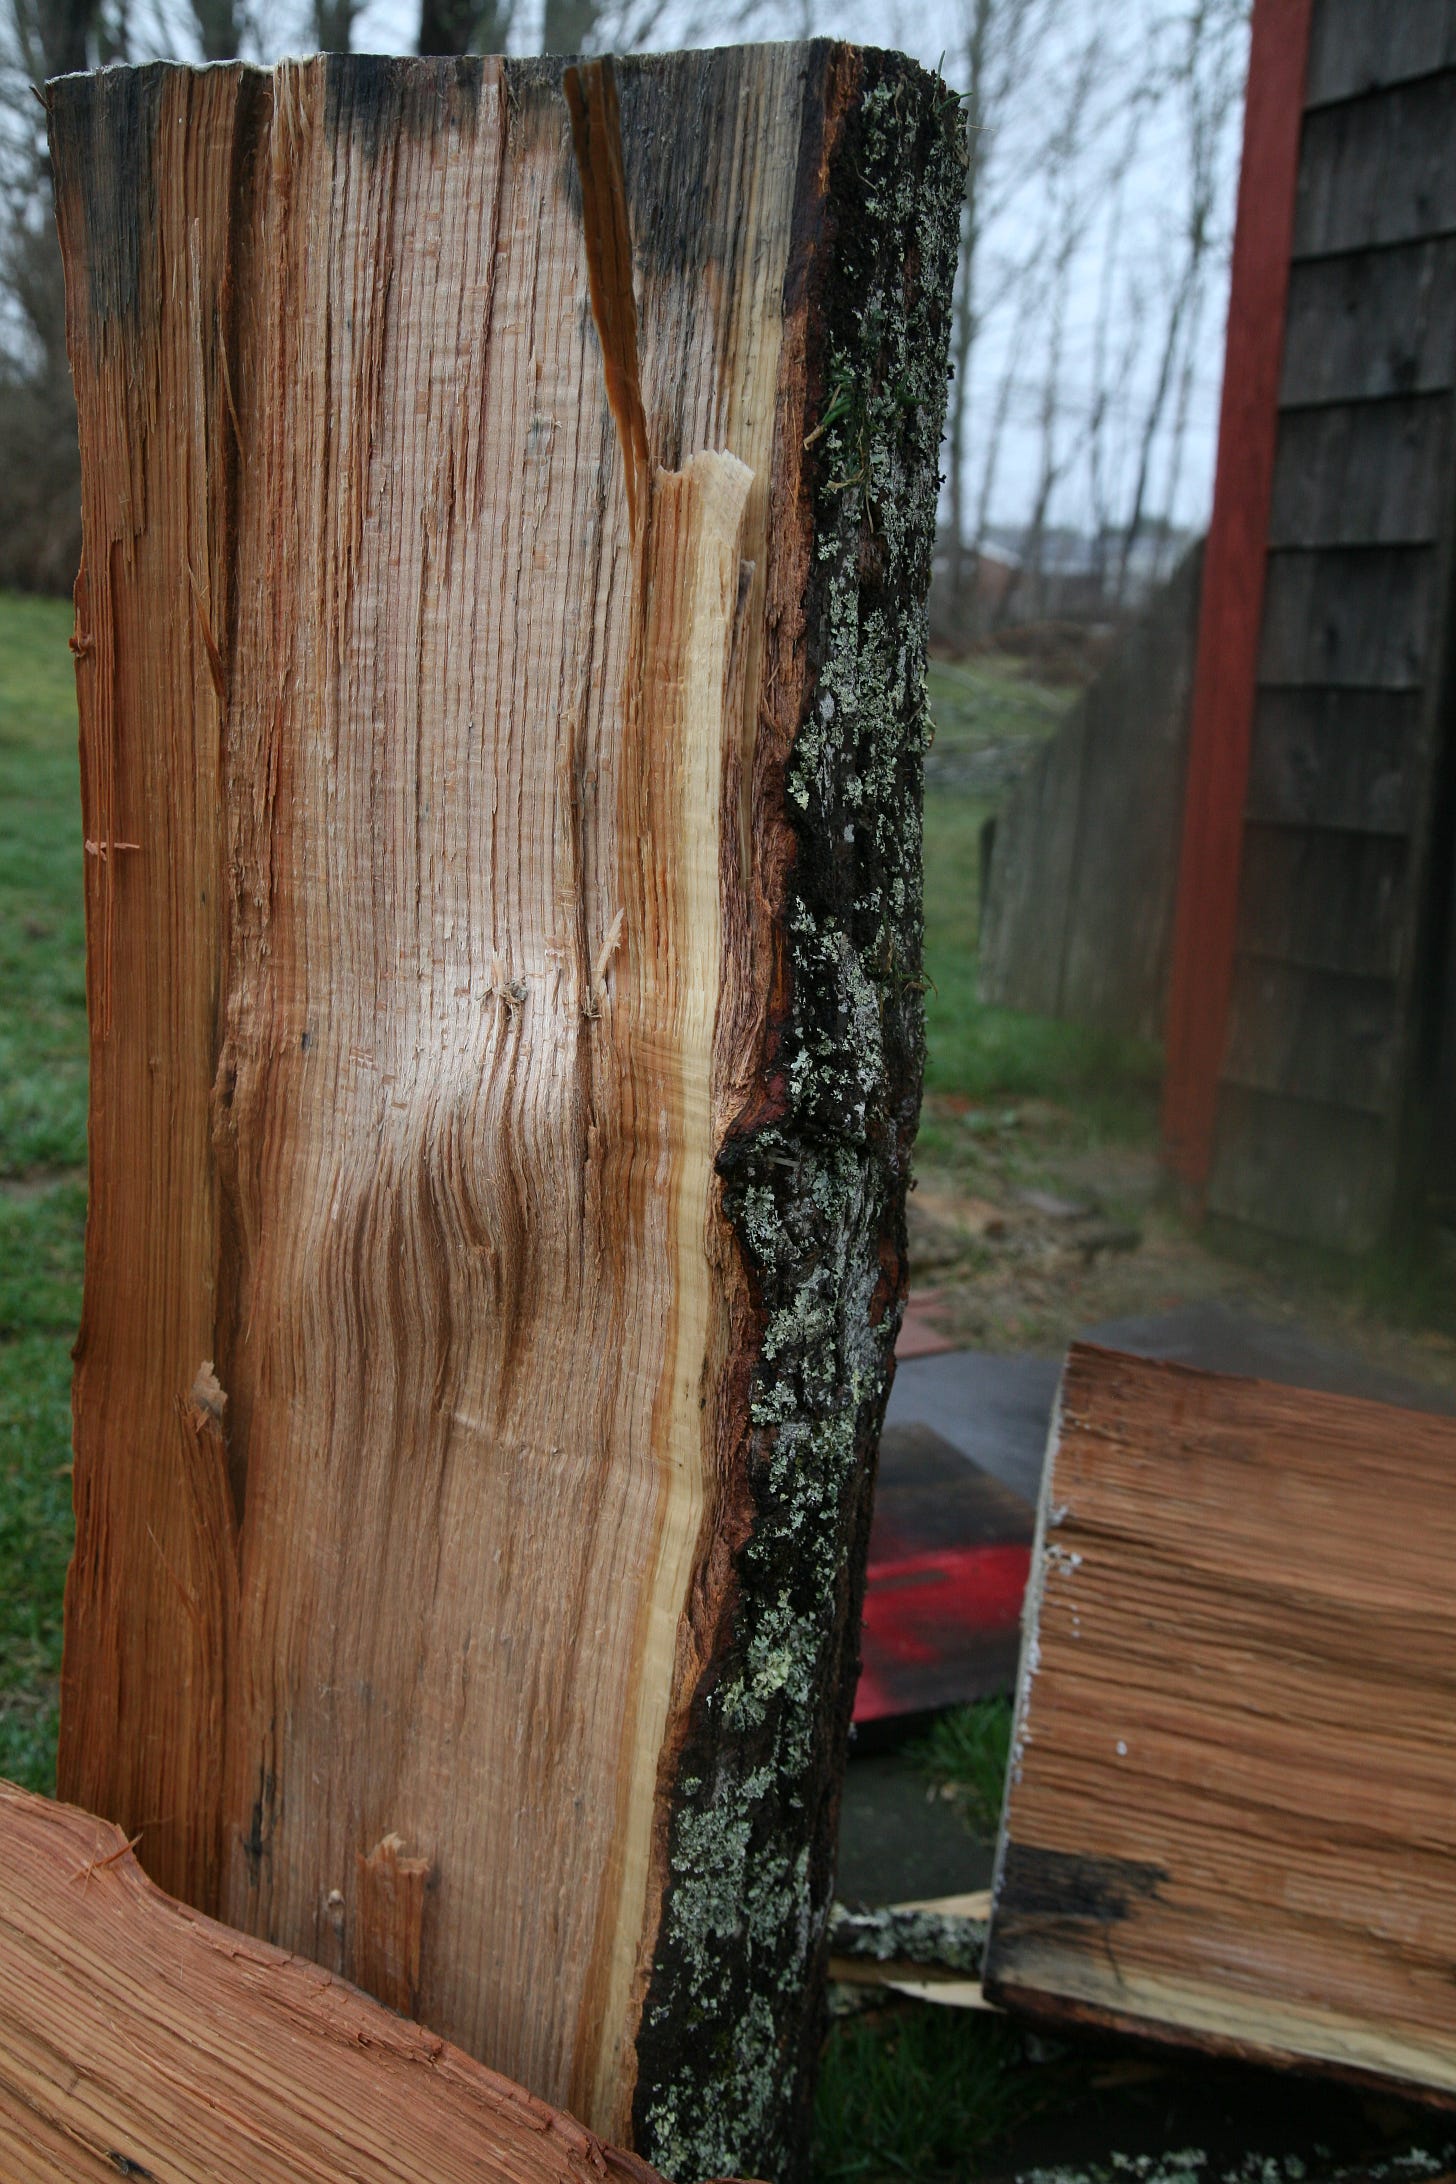
Processing a log is straight-forward and becomes easier with experience. I started this split (on the image above) by following the small opening across the pith. The initial step was to score a line across the diameter to encourage a clean, straight split [I picked up a starting wedge by Jason Lonon this week and was excited to put it to use. It worked perfectly, though I wish I had purchased a larger size]. My goal was to keep equal mass on either side of the split and to knock the sections into 1/8th’s in order to handle them comfortably.
This log split well with no unwelcomed surpises. The initial split of the full diameter took around 15 minutes. It didn’t want to start and completely absorbed the Lonon wedge. But it split clean and clear once it started. The work was deliberate, giving the wedges time to “unzip” the log as the split travels the length of the piece. Below is a minute-plus video of a quartered section. These splits came apart with ease. It was the same process as the initial one - scoring a straight line across the pith with equal mass on either side, followed by slipping the starting wedge into the edge of the timber at an angle, then forcing open the slender split with the large wedges.
Finally, it was the best case scenario regarding the knotty section. Only a couple of the sections show any wavy grain and there may be enough length below/above it to get small pieces from the clear areas. No other knots or defects appeared while opening this log. It’s always a possibility, especially with larger logs, that upon splitting a few “buried” knots are found inside (though without any visible indicators on the bark). It’s an inherent risk in opening a log and the reason many chairmakers prefer to split the full length at once…..in order to work around any surprises found within.
Next is to make an improved storage area and to knock a few of these sections into chair parts. Let’s hope it bends well.


As someone who always feels like a burden at the log or lumber yard, I appreciated your suggestion on how to make one’s introductions - lay it all out and be clear from the start. Love it!
I’ve never heard the term “cat face” before - can you explain what that is?